Responsive Widgets Prefix allows you to add the “Responsive” prefix to any widget that needs scaling or font size increases (for varying device screen sizes).
Features
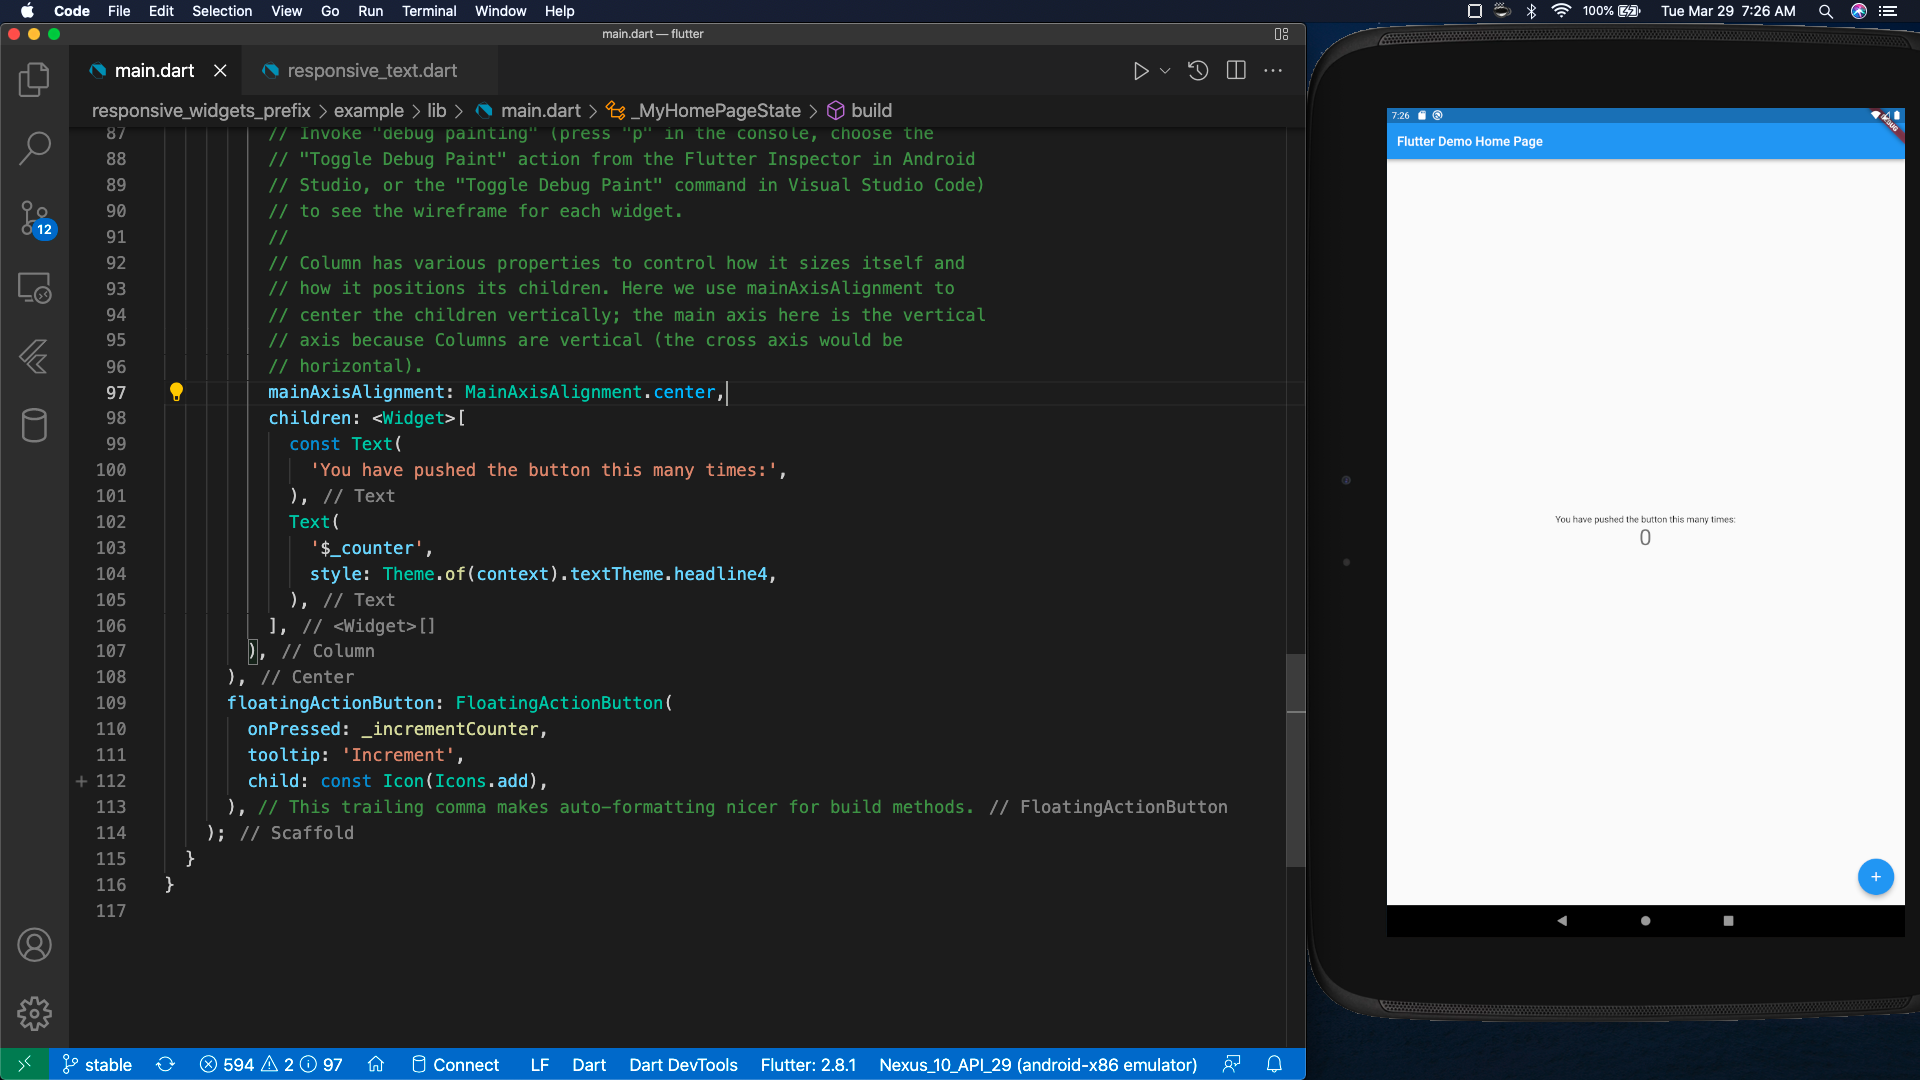
When not using Responsive widgets, you can run into issues with scaling like the following:
Non Responsive Text
          ...
          children: <Widget>[
            Text(
              'You have pushed the button this many times:',
            ),
            Text(
              '$_counter',
              style: Theme.of(context).textTheme.headline4,
            ),
          ],
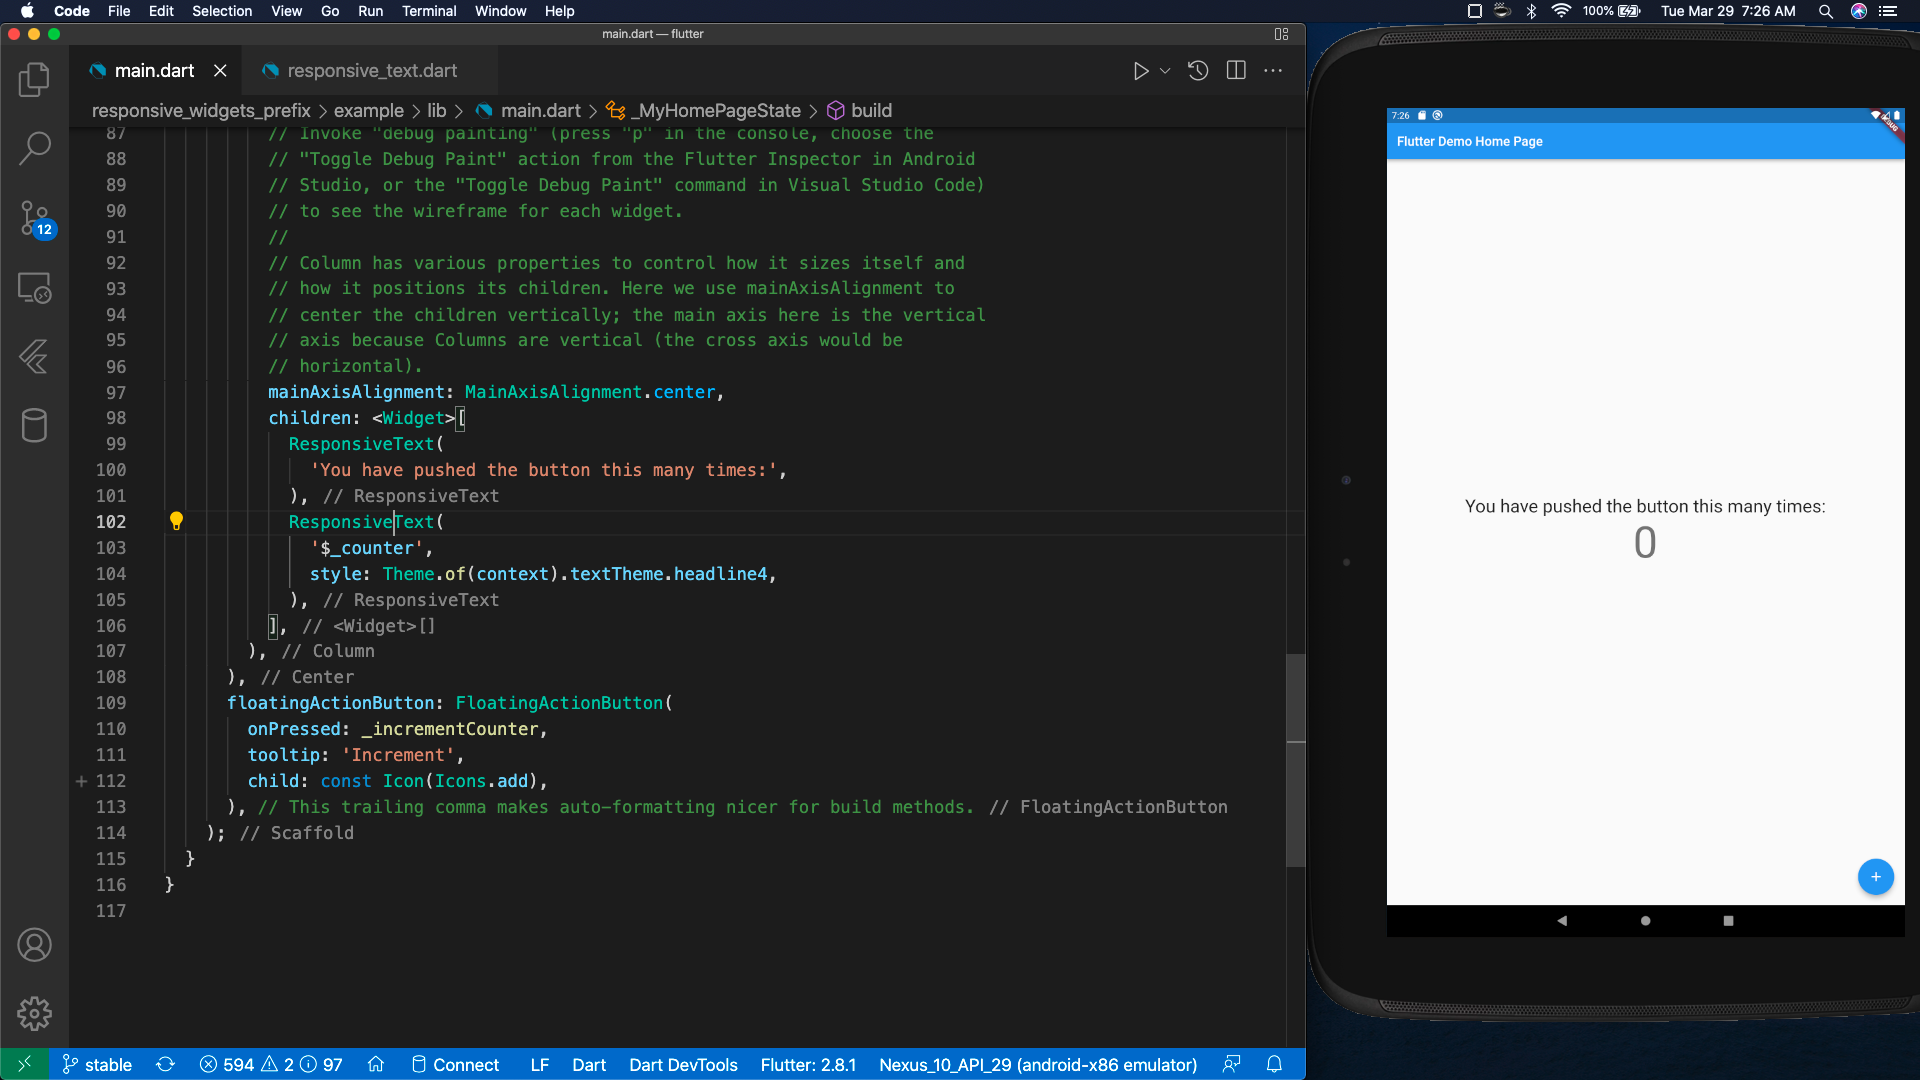
Default ResponsiveText
          ...
          children: <Widget>[
            ResponsiveText(
              'You have pushed the button this many times:',
            ),
            ResponsiveText(
              '$_counter',
              style: Theme.of(context).textTheme.headline4,
            ),
          ],
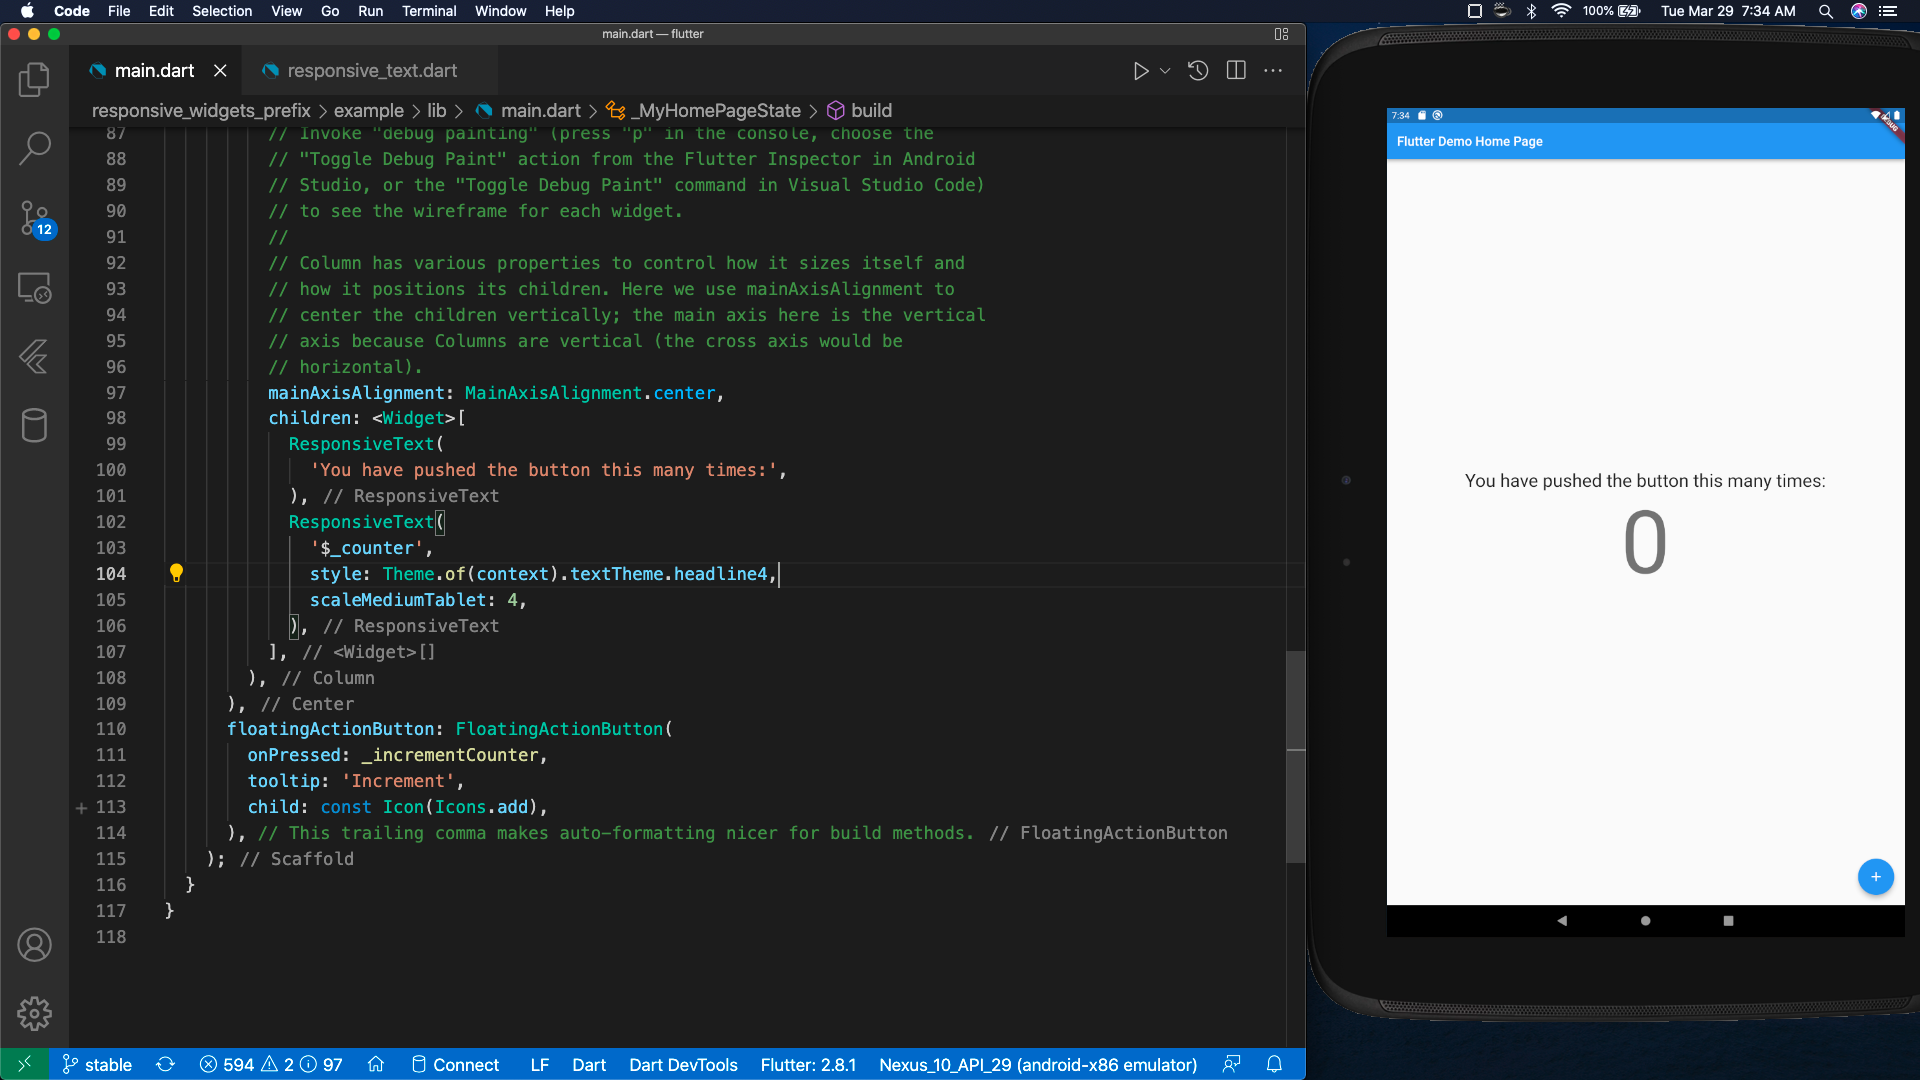
Customized ResponsiveText (scaleMediumTablet)
          ...
          children: <Widget>[
            ResponsiveText(
              'You have pushed the button this many times:',
            ),
            ResponsiveText(
              '$_counter',
              style: Theme.of(context).textTheme.headline4,
              scaleMediumTablet: 4,
            ),
          ],
Note: The following widgets are currently supported, but we welcome widget requests for new responsive widgets.
| Visual | Structural | Interactive | Platform |
|---|---|---|---|
| AssetImage | Container | IconButton | MaterialApp |
| Text | Padding | FloatingActionButton | CupertinoApp |
| Card | ButtonTheme | AppBar | |
| Icon | |||
Getting started
Install Responsive Widgets Prefix
flutter pub get responsive_widgets_prefix
Or install Responsive Widgets Prefix (in pubspec.yaml)
    ...

dependencies:
  flutter:
    sdk: flutter

    ...

  responsive_widgets_prefix: <latest_version>
Add Responsive Widgets Prefix import
import 'package:responsive_widgets_prefix/responsive_widgets_prefix.dart';
Finally, create a Responsive App
In the case of a MaterialApp, all you would need to do is add the Responsive prefix.
  // This widget is the root of your application.
  @override
  Widget build(BuildContext context) {
    return ResponsiveMaterialApp(
      title: 'Flutter Demo',
      theme: ThemeData(
        // This is the theme of your application.
        //
        // Try running your application with "flutter run". You'll see the
        // application has a blue toolbar. Then, without quitting the app, try
        // changing the primarySwatch below to Colors.green and then invoke
        // "hot reload" (press "r" in the console where you ran "flutter run",
        // or simply save your changes to "hot reload" in a Flutter IDE).
        // Notice that the counter didn't reset back to zero; the application
        // is not restarted.
        primarySwatch: Colors.blue,
      ),
      home: const MyHomePage(title: 'Flutter Demo Home Page'),
    );
  }
}
Note: Alternatively, if you are using a CupertinoApp the same Responsive prefix can be added.
  // This widget is the root of your application.
  @override
  Widget build(BuildContext context) {
    return ResponsiveCupertinoApp(
      title: 'Flutter Demo',
      theme: CupertinoThemeData(
        // This is the theme of your application.
        //
        // Try running your application with "flutter run". You'll see the
        // application has a blue toolbar. Then, without quitting the app, try
        // changing the primaryColor below to Colors.green and then invoke
        // "hot reload" (press "r" in the console where you ran "flutter run",
        // or simply save your changes to "hot reload" in a Flutter IDE).
        // Notice that the counter didn't reset back to zero; the application
        // is not restarted.
        primaryColor: Colors.blue,
      ),
      home: const MyHomePage(title: 'Flutter Demo Home Page'),
    );
  }
}
Usage
Our first example will be the Counter Sample project. With this project we can integrate the Responsive Widgets prefix to scale the UI, for the appropriate scren size (and preview the results).
Create platforms file (lib/platforms.dart)
import 'package:flutter/cupertino.dart';
import 'package:flutter/material.dart';

class PlatformApp extends PlatformWidget {

  PlatformApp({
    Key? key,
    required MaterialApp androidApp,
    required CupertinoApp iosApp,
    required TargetPlatform defaultPlatform,
  }) : super(key: key,
      androidBuilder: (BuildContext context) => androidApp,
      iosBuilder:  (BuildContext context) => iosApp
    ) {
      PlatformWidget.setPlatform(defaultPlatform);
  }

}

class PlatformWidget extends StatefulWidget {

  static TargetPlatform? _defaultPlatform;

  static get platform {
      if(_defaultPlatform == null) {
        return TargetPlatform.android;
      }
      return _defaultPlatform;
  }

  static get isAndroid {
      return _defaultPlatform == TargetPlatform.android;
  }

  static get isIOS {
      return _defaultPlatform == TargetPlatform.iOS;
  }

  static void setPlatform(TargetPlatform platform) {
      _defaultPlatform = platform;
  }

  static void reassembleApplication() {
      WidgetsBinding.instance!.reassembleApplication();
  }

  const PlatformWidget({
    Key? key,
    required this.androidBuilder,
    required this.iosBuilder,
  }) : super(key: key);

  final WidgetBuilder androidBuilder;
  final WidgetBuilder iosBuilder;

  @override
  State<PlatformWidget> createState() => _PlatformWidgetState();
}

class _PlatformWidgetState extends State<PlatformWidget> {
  @override
  Widget build(context) {
    switch (PlatformWidget._defaultPlatform) {
      case TargetPlatform.android:
        return widget.androidBuilder(context);
      case TargetPlatform.iOS:
        return widget.iosBuilder(context);
      default:
        assert(false, 'Unexpected platform ${PlatformWidget._defaultPlatform}');
        return Container();
    }
  }
}
Create main file (lib/main.dart)
import 'package:flutter/cupertino.dart';
import 'package:flutter/material.dart';
import 'package:responsive_widgets_prefix/responsive_widgets_prefix.dart';

import 'platforms.dart';

void main() => runApp(setupMainWidget());

Widget setupMainWidget() {
  WidgetsFlutterBinding.ensureInitialized();
  return const MyApp();
}
class MyApp extends StatelessWidget {
  const MyApp({Key? key}) : super(key: key);

  @override Widget build(BuildContext context) {
    return PlatformApp(
        defaultPlatform: PlatformWidget.platform,
        androidApp: ResponsiveMaterialApp(
          theme: ThemeData(primarySwatch: Colors.blue),
          home: const MyHomePage(title: 'Counter Sample')
        ),
        iosApp: ResponsiveCupertinoApp(
            theme: const CupertinoThemeData(primaryColor: Colors.blue),
            home: const MyHomePage(title: 'Counter Sample'),
        )
    );
  }
}

class MyHomePage extends StatefulWidget {
  final String title;
  const MyHomePage({Key? key, required this.title}) : super(key: key);
  @override State<MyHomePage> createState() => _MyHomePageState();
}

class _MyHomePageState extends State<MyHomePage> {
  int _counter = 0;

  void _incrementCounter() {
    setState(() {
      _counter++;
    });
  }
  @override Widget build(BuildContext context) {
    return Scaffold(
      appBar: AppBar(title: Text(widget.title)),
      body: Center(
        child: Column(
          mainAxisAlignment: MainAxisAlignment.center,
          children: <Widget>[
            ResponsiveText('You have pushed the button this many times:'),
            ResponsiveText('$_counter', style: Theme.of(context).textTheme.headline4, scaleMediumTablet: 4),
          ],
        ),
      ),
      floatingActionButton: FloatingActionButton(
        onPressed: _incrementCounter, tooltip: 'Increment', child: const Icon(Icons.add),
      ),
    );
  }
}
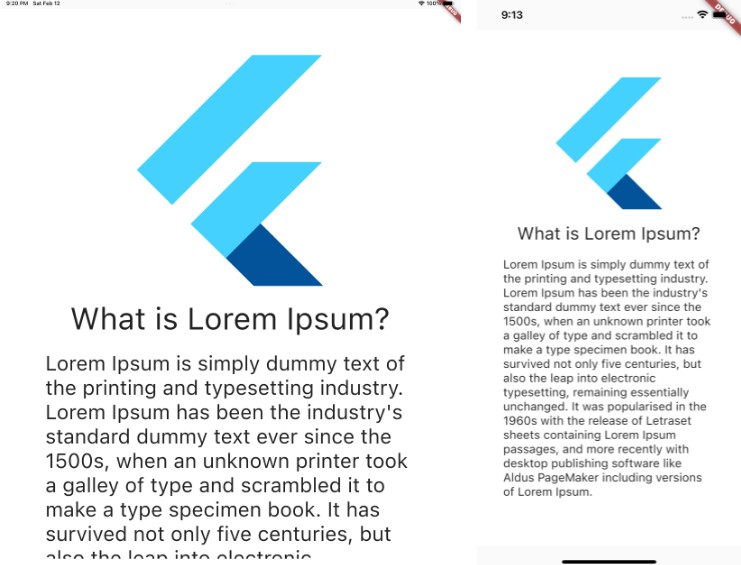
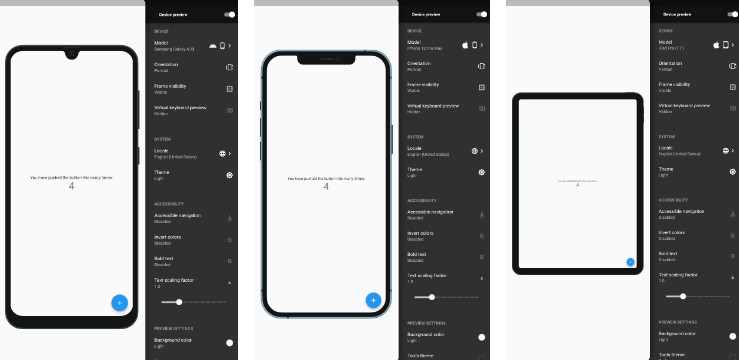
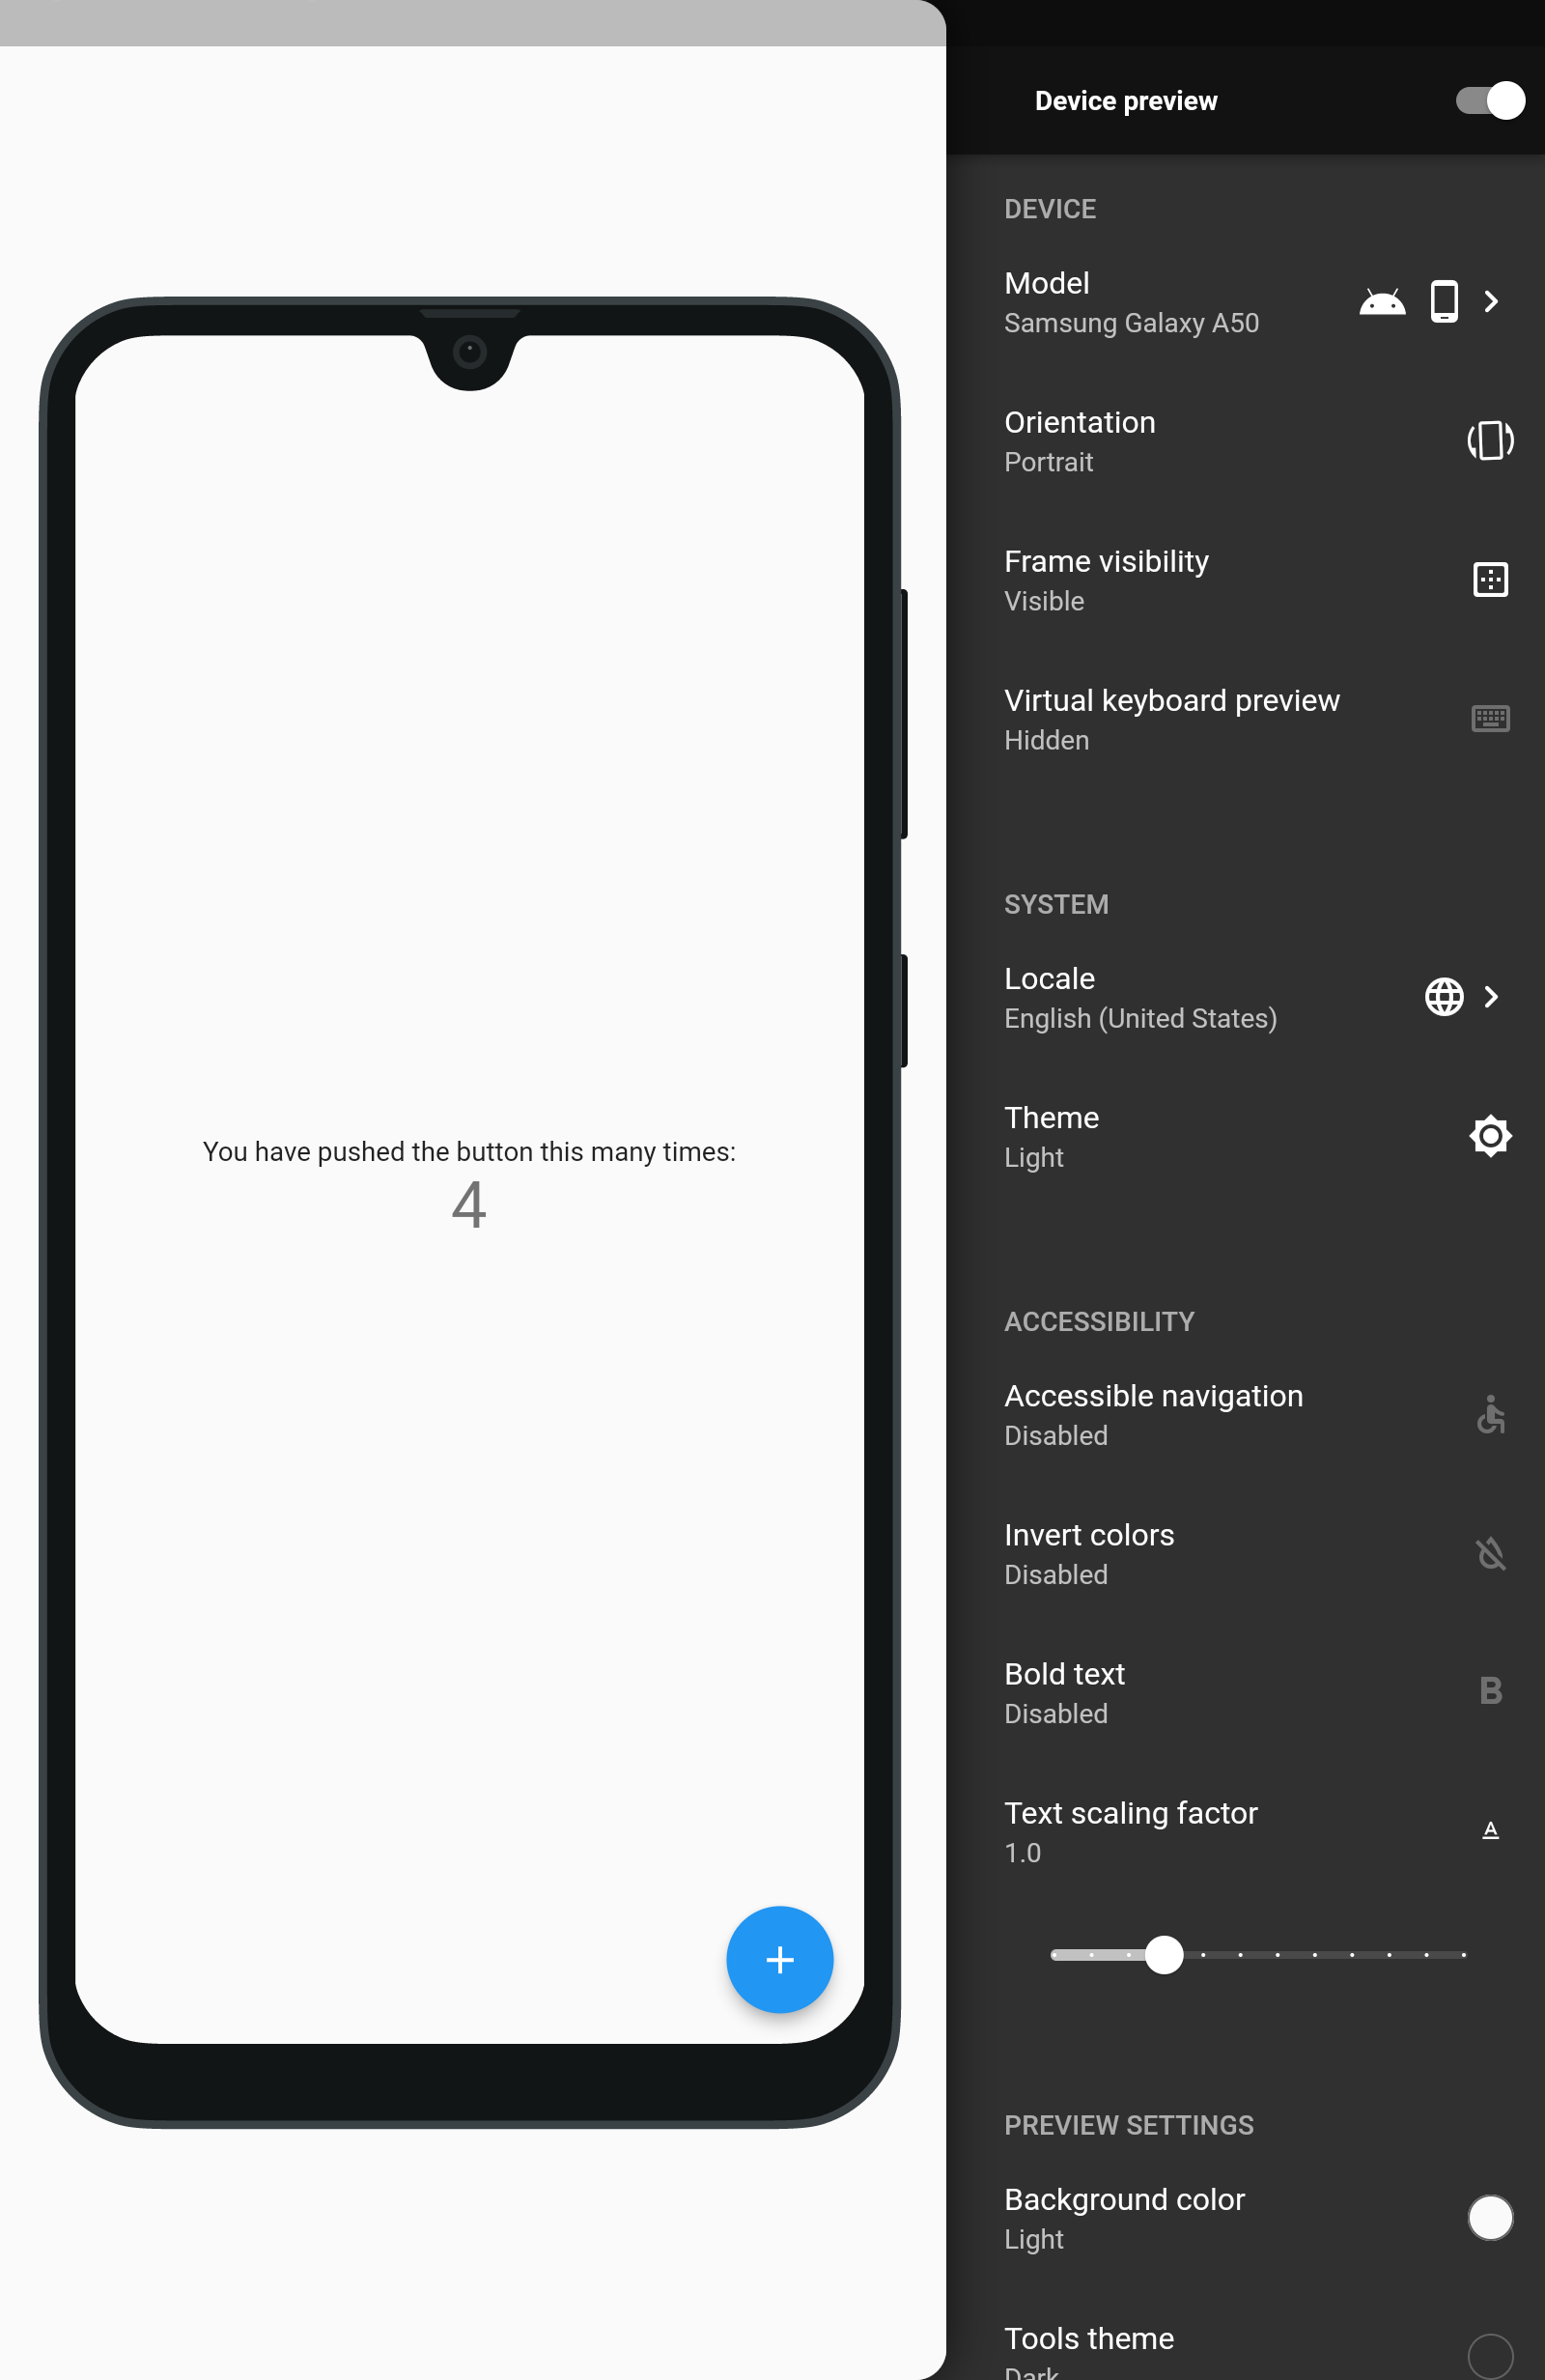
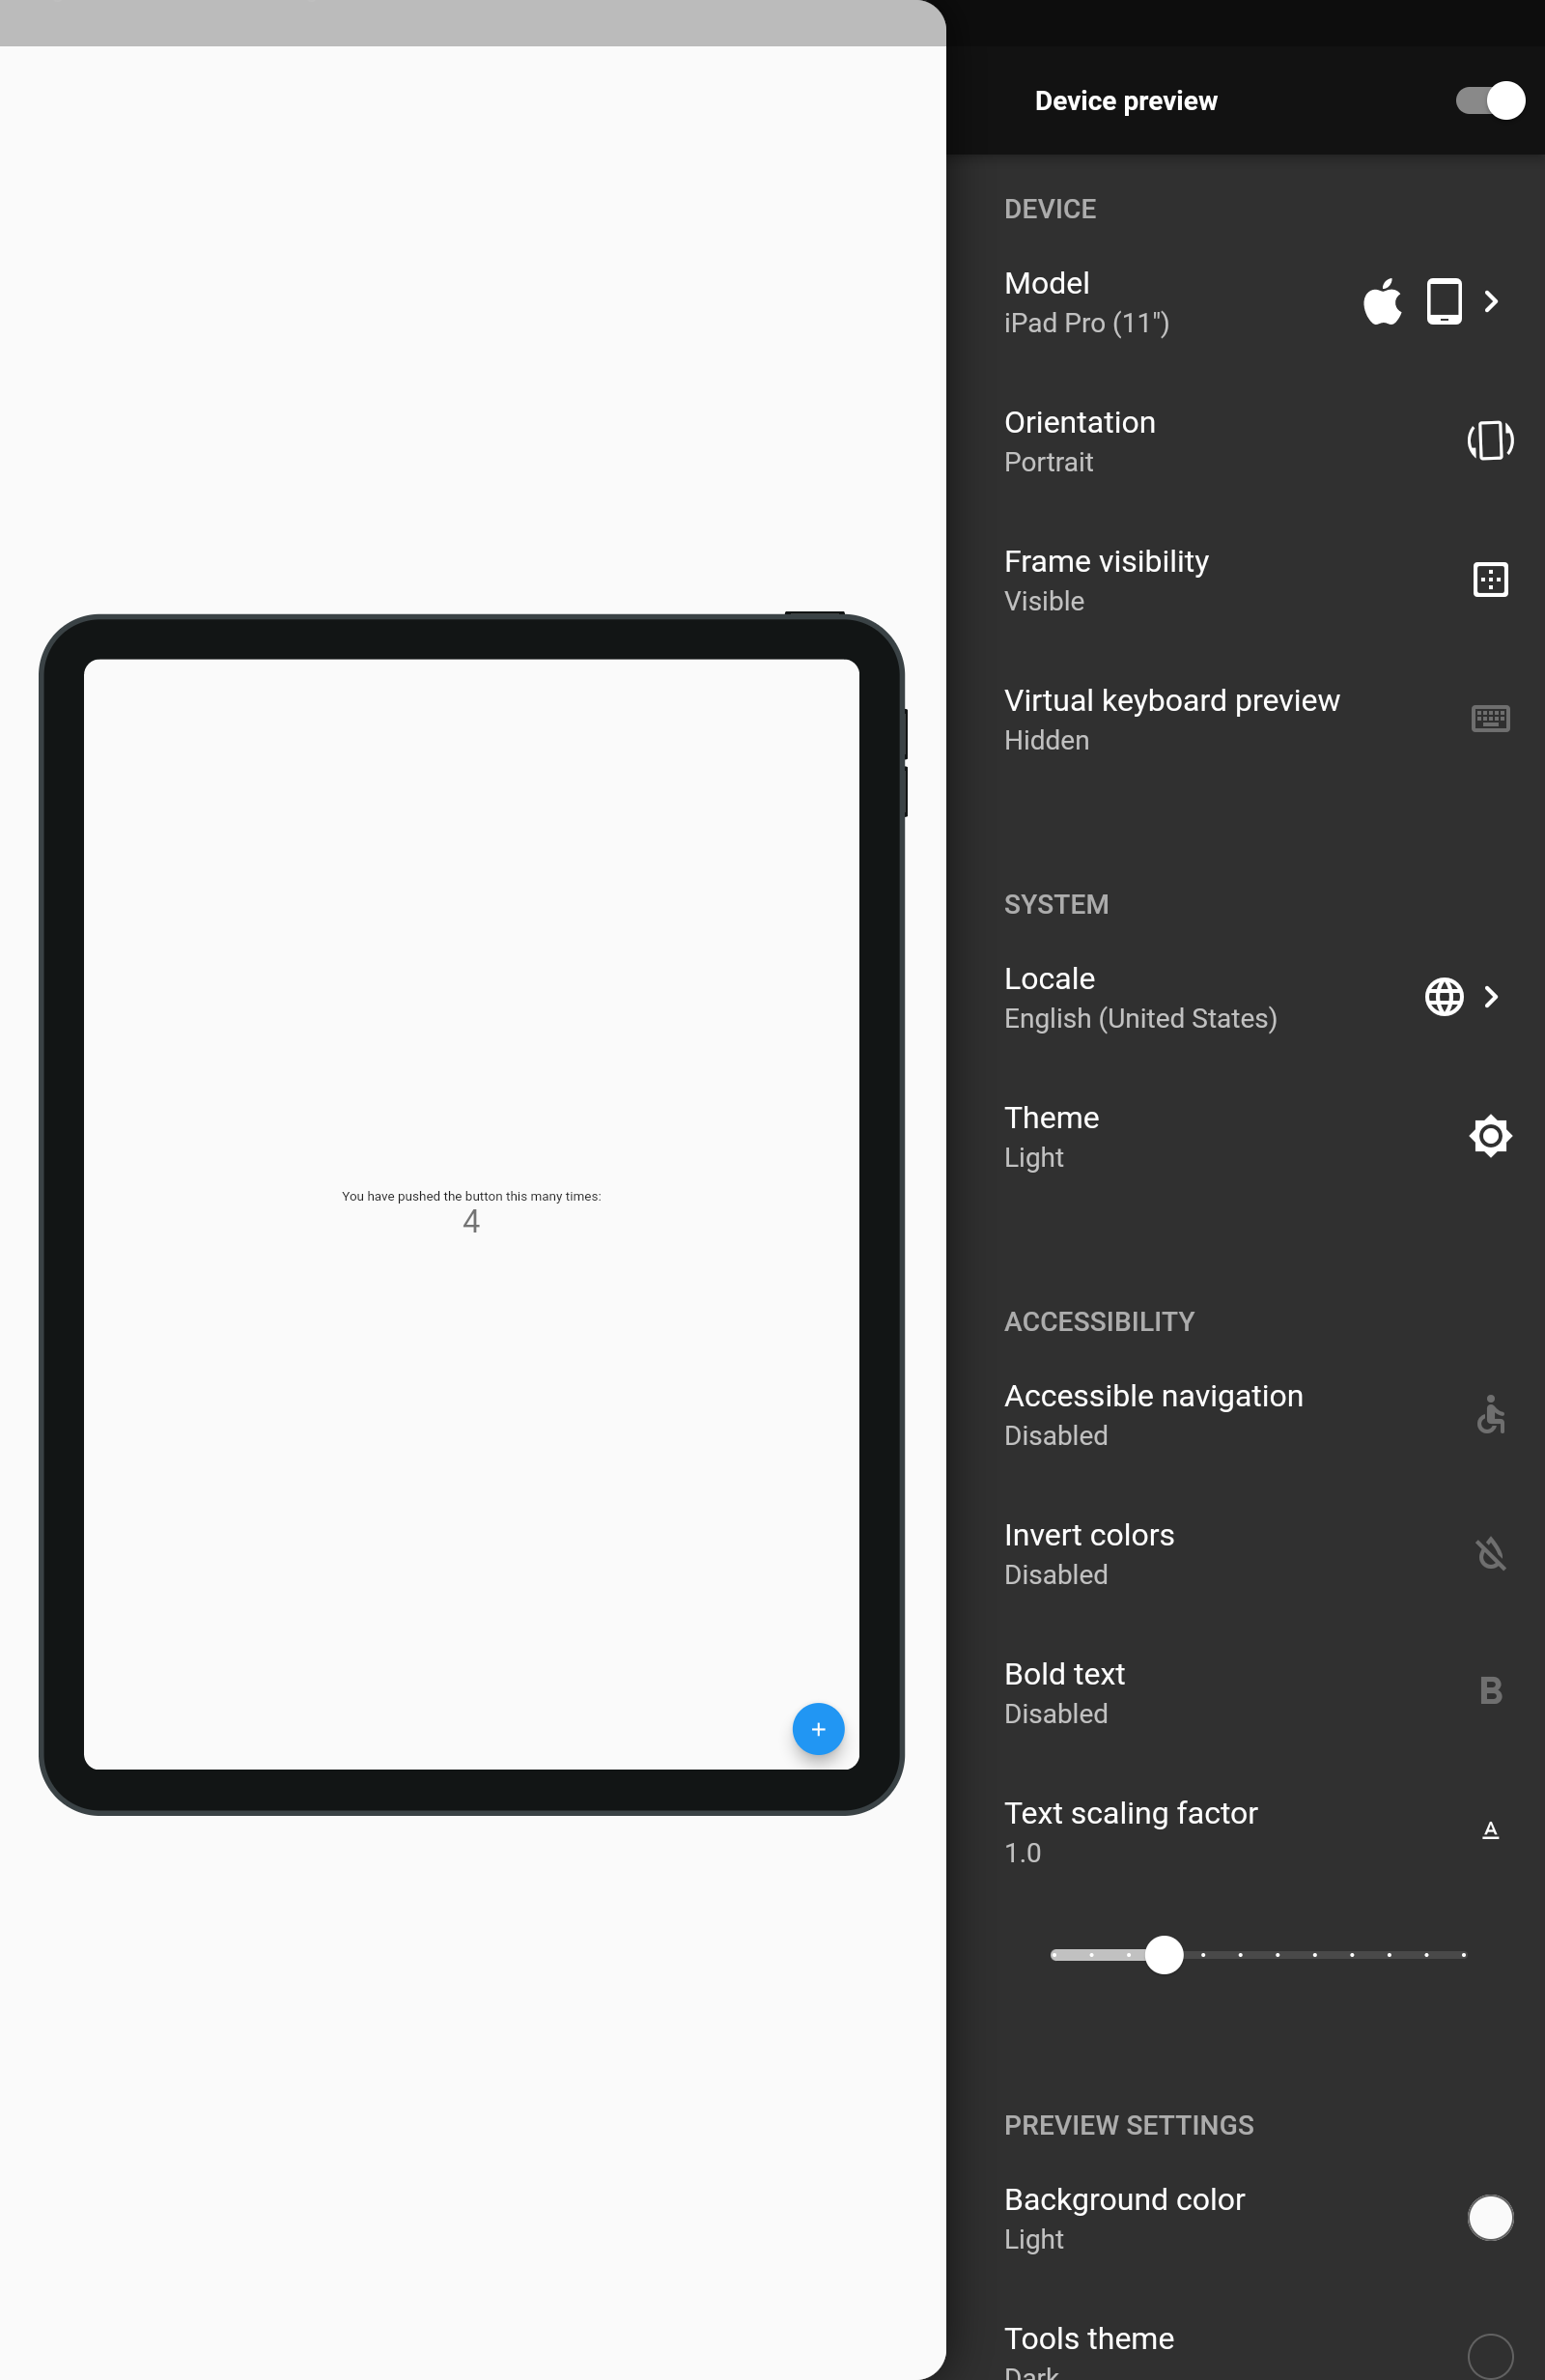
The comparisons would look like the following:
 |
 |
 |
|
Samsung A50 |
iPhone 12 Max Pro |
iPad Pro 11 Inches |
 |
 |
 |
Additional information
Package Support
To support this repo, take a look at the SUPPORT.md file.
Package Documentation
To view the documentation on the package, follow this link