


Immich
High performance self-hosted photo and video backup solution.
Loading ~4000 images/videos
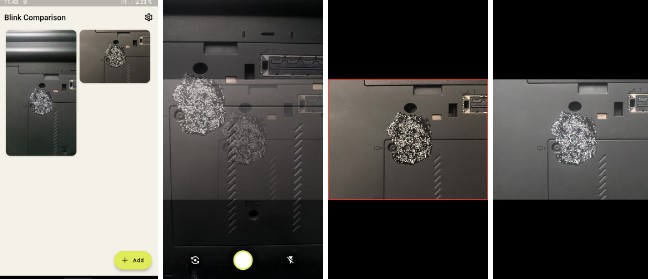
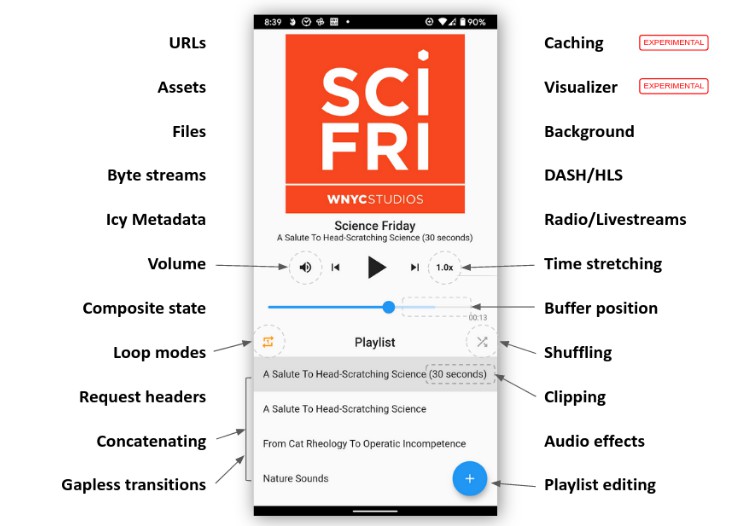
Screenshots
Mobile


Web


Note
!! NOT READY FOR PRODUCTION! DO NOT USE TO STORE YOUR ASSETS !!
This project is under heavy development, there will be continuous functions, features and api changes.
Features
| Mobile | Web | |
|---|---|---|
| Upload and view videos and photos | Yes | Yes |
| Auto backup when app is opened | Yes | N/A |
| Selective album(s) for backup | Yes | N/A |
| Download photos and videos to local device | Yes | Yes |
| Multi-user support | Yes | Yes |
| Album | No | Yes |
| Shared Albums | Yes | Yes |
| Quick navigation with draggable scrollbar | Yes | Yes |
| Support RAW (HEIC, HEIF, DNG, Apple ProRaw) | Yes | Yes |
| Metadata view (EXIF, map) | Yes | Yes |
| Search by metadata, objects and image tags | Yes | No |
| Administrative functions (user management) | N/A | Yes |
System Requirement
OS: Preferred unix-based operating system (Ubuntu, Debian, MacOS…etc).
RAM: At least 2GB, preffered 4GB.
Core: At least 2 cores, preffered 4 cores.
Getting Started
You can use docker compose for development and testing out the application, there are several services that compose Immich:
- NestJs – Backend of the application
- SvelteKit – Web frontend of the application
- PostgreSQL – Main database of the application
- Redis – For sharing websocket instance between docker instances and background tasks message queue.
- Nginx – Load balancing and optimized file uploading.
- TensorFlow – Object Detection (COCO SSD) and Image Classification (ImageNet).
Step 1: Populate .env file
Navigate to docker directory and run
cp .env.example .env
Then populate the value in there.
Notice that if set ENABLE_MAPBOX to true, you will have to provide MAPBOX_KEY for the server to run.
Pay attention to the key UPLOAD_LOCATION, this directory must exist and is owned by the user that run the docker-compose command below.
Example
###################################################################################
# Database
###################################################################################
DB_USERNAME=postgres
DB_PASSWORD=postgres
DB_DATABASE_NAME=immich

###################################################################################
# Upload File Config
###################################################################################
UPLOAD_LOCATION=<put-the-path-of-the-upload-folder-here>

###################################################################################
# JWT SECRET
###################################################################################
JWT_SECRET=randomstringthatissolongandpowerfulthatnoonecanguess

###################################################################################
# MAPBOX
####################################################################################
# ENABLE_MAPBOX is either true of false -> if true, you have to provide MAPBOX_KEY
ENABLE_MAPBOX=false
MAPBOX_KEY=

###################################################################################
# WEB
###################################################################################
# This is the URL of your vm/server where you host Immich, so that the web frontend
# know where can it make the request to.
# For example: If your server IP address is 10.1.11.50, the environment variable will
# be VITE_SERVER_ENDPOINT=http://10.1.11.50:2283/api
VITE_SERVER_ENDPOINT=http://192.168.1.216:2283/api
Step 2: Start the server
To start, run
docker-compose -f ./docker/docker-compose.yml up
To update docker-compose with newest image (if you have started the docker-compose previously)
docker-compose -f ./docker/docker-compose.yml pull && docker-compose -f ./docker/docker-compose.yml up
The server will be running at http://your-ip:2283/api
Step 3: Register User
Access the web interface at http://your-ip:2283 to register an admin account.

Additional accounts on the server can be created by the admin account.

Step 4: Run mobile app
Login the mobile app with your server address

F-Droid
You can get the app on F-droid by clicking the image below.
Android
Get the app on Google Play Store here
The App version might be lagging behind the latest release due to the review process.

iOS
Get the app on Apple AppStore here:
The App version might be lagging behind the latest release due to the review process.

Development
The development environment can be started from the root of the project after populating the .env file with the command:
make dev # required Makefile installed on the system.
All servers and web container are hot reload for quick feedback loop.
Note for developers
1 – OpenAPI
OpenAPI is used to generate the client (Typescript, Dart) SDK. openapi-generator-cli can be installed here. When you add a new or modify an existing endpoint, you must run the generate command below to update the client SDK.
npm run api:generate # Run from server directory
You can find the generated client SDK in the web/src/api for Typescript SDK and mobile/openapi for Dart SDK.
Support
If you like the app, find it helpful, and want to support me to offset the cost of publishing to AppStores, you can sponsor the project with Github Sponsor, or a one time donation with the Buy Me a coffee link below.

This is also a meaningful way to give me motivation and encouragement to continue working on the app.
Cheers! ?
Known Issue
TensorFlow Build Issue
This is a known issue for incorrect Promox setup
TensorFlow doesn’t run with older CPU architecture, it requires a CPU with AVX and AVX2 instruction set. If you encounter the error illegal instruction core dump when running the docker-compose command above, check for your CPU flags with the command and make sure you see AVX and AVX2:
more /proc/cpuinfo | grep flags
If you are running virtualization in Promox, the VM doesn’t have the flag enabled.
You need to change the CPU type from kvm64 to host under VMs hardware tab.
Hardware > Processors > Edit > Advanced > Type (dropdown menu) > host