Flutter JWT Authentication for WordPress App
This Flutter application is designed to facilitate the login process to a WordPress site using the JWT Authentication API obtained from the Tmeister/wp-api-jwt-auth repository. The application allows users to register, log in, and access specific pages. It provides a secure and scalable architecture by implementing JWT token-based authentication.
Features
- JWT Authentication app with Flutter
- WordPress login using WordPress API service
- Token generation and validation for authenticated users
- Token-based authentication for protected pages
- Integration with WordPress API for user registration and login
- Data storage using
shared_preferences - Secure storage of tokens using
secure_storage
Screenshots

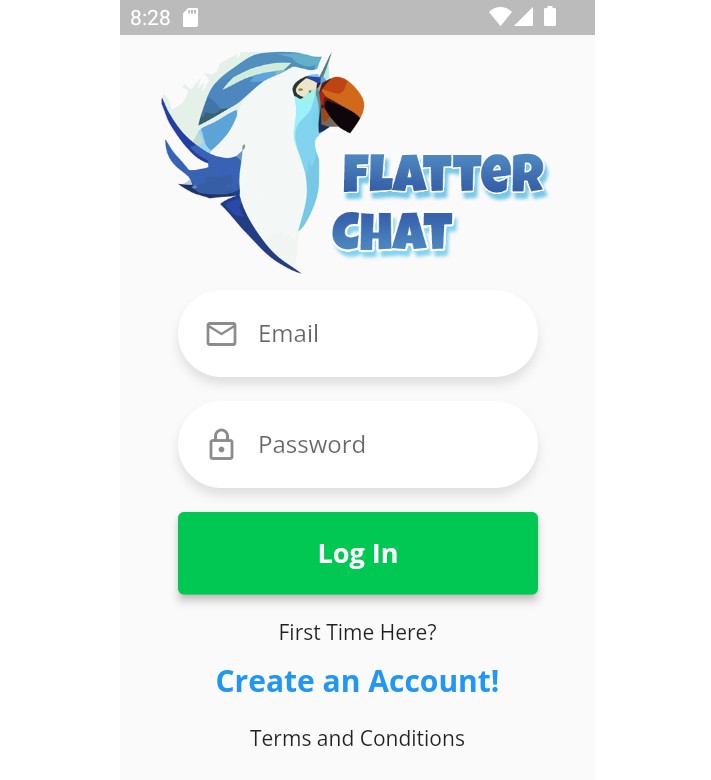
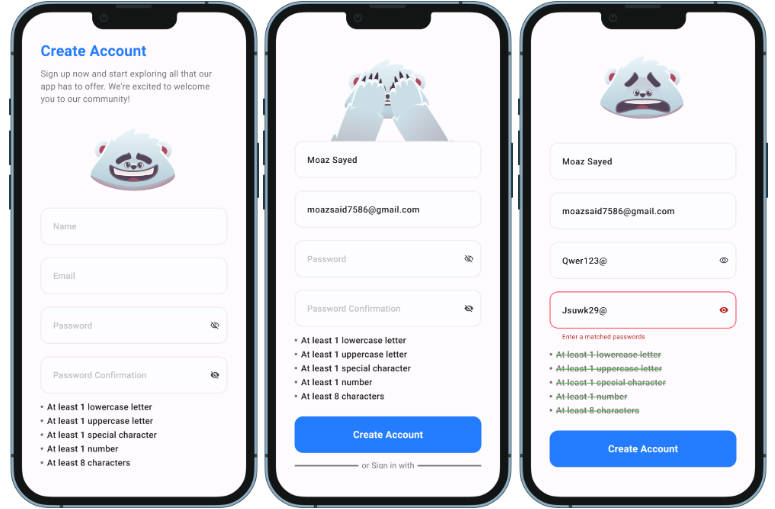
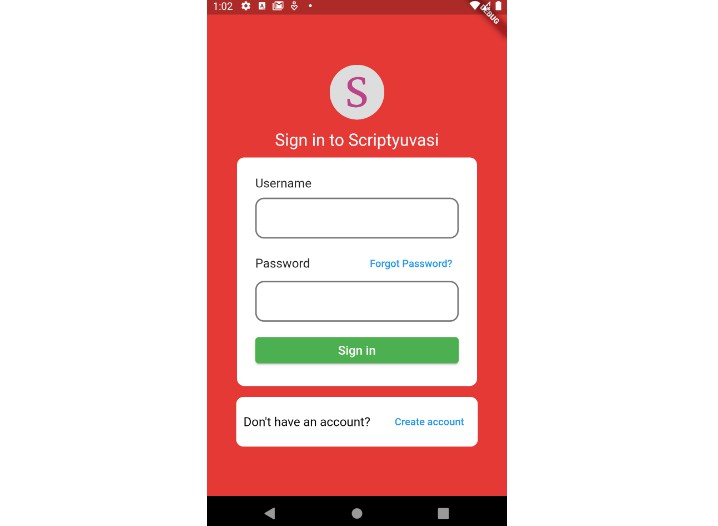
Register Screen

Home Screen

Profile Screen

Book Screen

Getting Started
Follow the steps below to run the project in your local environment.
Requirements
- Flutter SDK
- Dependencies
Installation
-
Clone the project:
git clone https://github.com/nurullahturkoglu/flutter-jwt-auth-for-wordpress.git
-
Install the required dependencies:
flutter pub get
-
Run the application
flutter run
Usage
Below, you will find important files and details regarding their usage within the project.
Auth Middleware
The auth_middleware.dart file is used to enable token validation for pages. If a user doesn’t have a token, their token has expired, or an invalid token is provided, they will be automatically redirected to the login page.
Future<void> validateToken() async {
    bool isValid = await WordPressAuthMethods().validateUserToken();

    if (!isValid) {
      navigateToLoginPage();
      return;
    }

    setState(() {
      isAuthenticated = isValid;
    });
}
WordPress Auth Methods
The wordpress_auth_methods.dart file handles WordPress login, registration, and validation processes. User information is stored using shared_preferences, while the token is securely stored using secure_storage. If a token is not available or has expired, the user will be automatically redirected to the login page.
WordPress Login Function
NOTE: ⚠️ I have made some modifications to the jwt-authentication-for-wp-rest-api/public/class-jwt-auth-public.php file in the Tmeister/wp-api-jwt-auth repository. Below, you will find the code snippets added to the generate_token section:
'user_id'         => $user->data->ID,
'user_role'       => $user->roles[0],
By doing so, you can get response if you login successfuly like that:
{
    "token": "eyJ0eXAiOiJKV1QiLCJhbGciOiJIUzI1NiJ9.***",
    "user_id": "13",
    "user_email": "[email protected]",
    "user_nicename": "Nurullah Turkoglu",
    "user_display_name": "turkoglu1",
    "user_role": "subscriber"
}
In the
validate_tokenfunction, I have added the following code to retrieve the user ID more efficiently:
'data' => [
    'status' => 200,
    'user_id' => $token->data->user->id,
],
if token is valid, you can get response like that:
{
    "code": "jwt_auth_valid_token",
    "data": {
        "status": 200,
        "user_id": "13"
    }
}
WordPress Register Function
I have added a register function as an API separate from the Tmeister/wp-api-jwt-auth repository. This register function allows you to perform user registration in WordPress. If you want to activate the registration process, you should add the following code to the add_api_routes() function in the api/public/class-jwt-auth-public.php file of the plugin:
register_rest_route($this->namespace, '/register', array(
    'methods'             => 'POST',
    'callback'            => array($this, 'create_user'),
    'permission_callback' => '__return_true',
));
Additionally, you need to create the phpcreate_user() function:
function create_user($request) {
    $params = $request->get_params();

    // Get the username and password
    $username = sanitize_text_field($params['username']);
    $password = sanitize_text_field($params['password']);

    // Check if a user with the same username already exists
    $existing_user = get_user_by('login', $username);
    if ($existing_user) {
        // A user with the same username already exists
        $response = array(
            'status'  => 'error',
            'message' => 'The username is already taken.',
        );
    } else {
        // Create a new user
        $user_id = wp_create_user($username, $password);

        if (!is_wp_error($user_id)) {
            // Successful registration
            $response = array(
                'status'  => 'success',
                'message' => 'User created successfully.',
                'user_id' => $user_id,
            );
        } else {
            // Error occurred
            $error = $user_id->get_error_message();
            $response = array(
                'status'  => 'error',
                'message' => "Failed to create user. $error",
            );
        }
    }

    // Return the response
    return $response;
}
By doing so, you can create a new membership by making a POST request to the address https://yourdomain.com/wp-json/jwt-auth/v1/register with the following JSON payload:
{
    "username": "test123",
    "password": "123"
}
Main Code
The main file of the project contains the following code:
return MaterialApp(
  title: 'JWT Auth Tutorial',
  routes: {
    '/login': (context) => const LoginPage(),
    '/register': (context) => const RegisterPage(),
    '/home': (context) => const AuthMiddleware(child: HomePage()),
    '/book': (context) => const AuthMiddleware(child: BookPage()),
    '/profile': (context) => const AuthMiddleware(child: ProfilePage()),
  },
  home: const LoginPage(),
);
The code above uses the AuthMiddleware widget to add token validation to different pages. This ensures that token validation is performed before accessing certain pages.
Credit
Using TMeister JWT Auth for token generation and token verification in WordPress.
Contributing
We welcome contributions to this project! If you would like to contribute, please follow these steps:
- Fork the repository.
- Create a new branch for your feature or bug fix.
- Make your changes and commit them.
- Push your changes to your forked repository.
- Submit a pull request describing your changes.
Please ensure that your contributions adhere to the coding conventions and guidelines of this project.
License
This project is licensed under the MIT License. See the LICENSE file for details.