Developing Android apps on Gitpod
This project is intended to demonstrate how to easily program Android apps on Gitpod. It is based on this guide and this flutter template. This image already enables you to program for Flutter Web – in this guide however I want to focus on programming on a real device.

Requirements
- Gitpod (or other cloud IDE)
- Android phone (Android 11+)
- ngrok (or other tunneling software)
- Wi-fi connection between the current device (laptop) and the phone
Step 1 – Enable web debugging
References: Gadgethacks – Picture source / Gitconnected
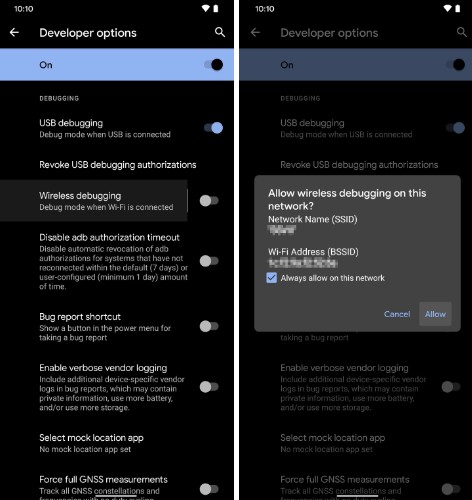
On your Android 11+ phone, enable developer settings by tapping the build number multiple times. After the developer settings are unlocked, open them up and enable “Wireless debugging”. Once this is enabled, click on the text next to the toggle to get to the details of this setting.


Write down the displayed IP and port – this is the connection for the main ADB connection.

Click on “Pair device with pairing code” below – you will see a pairing code, the same IP address and a different port. Write these down as well and keep this window open. This is the connection only for pairing.

Step 2 – Tunnel ADB via ngrok
Download ngrok. Open a terminal on your computer, that must be in the same wifi network like the phone. You can verify this by pinging the phone IP address like ping 192.168.178.33 – if the ping succeeds, your network settings are correct.
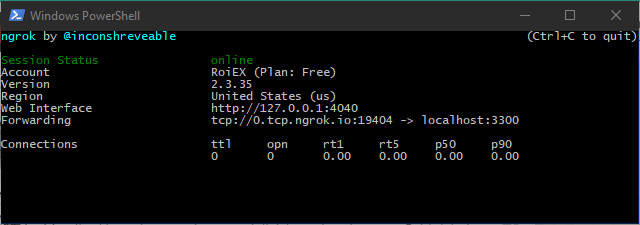
Run ngrok to tunnel the pairing connection first, for example
ngrok tcp 192.168.178.33:42739. ngrok will provide you with an external domain and port, like 0.tcp.ngrok.io:13840.
Open your Android code in your cloud IDE with adb installed – like this example. Use the command line terminal in the IDE to pair the IDE with the device like adb pair 0.tcp.ngrok.io:13840. Enter the pairing code and wait until the connection is confirmed.
Terminate the ngrok tunnel for the pairing connection (CTRL + C in the local terminal). Now create a new tunnel for the main ADB connection, like ngrok tcp 192.168.178.33:37829 which will provide you with a new domain and port like 6.tcp.ngrok.io:16514.
Now connect to the main ADB connection via adb connect 6.tcp.ngrok.io:16514 – this requires the previous pairing step to succeed. The connection should establish successfully.
Step 3 – Run the app
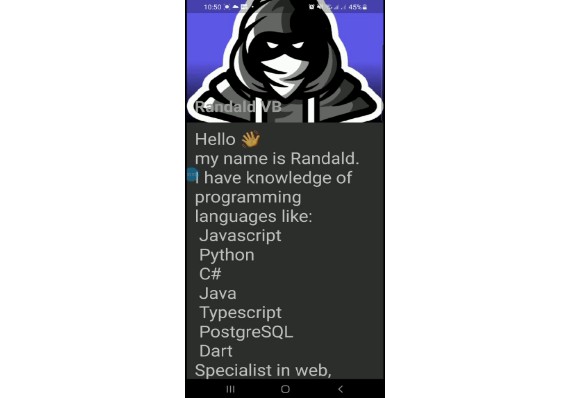
Once the connection is established, you can use your phone in combination with the IDE to work on apps as usual.
In the example mentioned above, you can list all connected devices via flutter devices. Build and push a development build to the device via flutter run. This will compile the code, pushes it to the phone via the internet and launches it on the phone.