Best practices in Flutter development
Do’s and Don’ts for Flutter development, heavily inspired from the android-best-practices
Summary
Add a linting rules firstly when starting app from scratch
Use const wherever possible
Create separate class to define the colors
Define theme for your app
Don’t use functional widgets
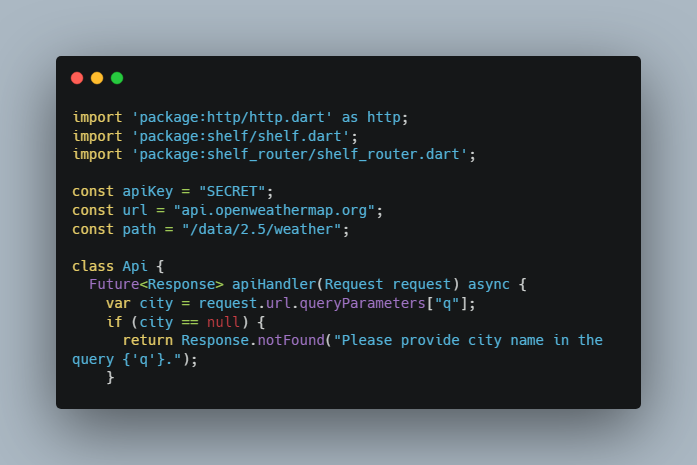
lint-rules
Whenever you start a project from scratch firstly add Lint package which can help you to statically analyzed your flutter/dart code and can help you to improve your code quality which evantually reduces the bugs and errors.
use-const
Try using a const keyword wherever possible, to improve the performance of the app. For example: When you use it for some widgets and when setState gets called it does not change the widget with the const keyword.
const Text(
  "Flutter Best Practices",
  style: const TextStyle(
    fontSize: 24,
    fontWeight: FontWeight.bold,
  ),
),
separate-color-class
Try to have all the colors in a single class for your application, do it with the Strings as well if you are not using the localization so whenever you want to add localization you can find all the strings in one place.
Note: You might get the linting error avoid_classes_with_only_static_members but it is okay to ignore for this kind of usage.
Quoting the official documentation:
In idiomatic Dart, classes define kinds of objects. A type that is never instantiated is a code smell.
However, this isn’t a hard rule. With constants and enum-like types, it may be natural to group them in a class.
Color Example:
class AppColor {
  static const Color red = Color(0xFFFF0000);
  static const Color green = Color(0xFF4CAF50);
  static const Color errorRed = Color(0xFFFF6E6E);
}
define-theme
Define Theme of the app as well as a first priority to avoid the headache of changing the theme in future updates, Setting up Theme is surely confusring but one time task.
Ask your designer to share all the Theme related data like, Colors, font sizes and weightage.
Example:
MaterialApp(
  title: appName,
  theme: ThemeData(
    // Define the default brightness and colors.
    brightness: Brightness.dark,

    // You can add the color from the seprate class here as well to maintain it well.
    primaryColor: Colors.lightBlue[800],

    // Define the default font family.
    fontFamily: 'Georgia',

    // Define the default `TextTheme`. Use this to specify the default
    // text styling for headlines, titles, bodies of text, and more.
    textTheme: const TextTheme(
      headline1: TextStyle(fontSize: 72.0, fontWeight: FontWeight.bold),
      headline6: TextStyle(fontSize: 36.0, fontStyle: FontStyle.italic),
      bodyText2: TextStyle(fontSize: 14.0, fontFamily: 'Hind'),
    ),
  ),
  home: const MyHomePage(
    title: appName,
  ),
);
You can do much more with the Theme, which is defining your custom TextField, Card, Bottom Navigation Bar themes for once and use it straight away in the app. Checkout an example of using Theme over here
In Addition, In a large app/project you might end up having a multipl Themes not just light and dark mode themes but Custom themes for some specific widgets/components as well so you can always create a separate class/file and maintain all the themes over there.
avoid-functional-widgets
We usually have a situation where we need to separate out UI code from the widget, But we avoid creating a separate widget and use function which returns Widget.
This practice have some benefits, like you don’t need to pass all parameters in your new widget, You have less code and less files. But this approach may cause issue when you want to inspect your widget. Let’s see this in depth.
When you use functional widget code looks like this.
Widget functionWidget({ Widget child}) {
  return Container(child: child);
}
You can now use it as
functionWidget(
  child: functionWidget(),
);
In this case Widget tree will look something like this
Container
  Container
Instead if we use Widget, Our widget looks like
class ClassWidget extends StatelessWidget {
  final Widget child;

  const ClassWidget({Key key, this.child}) : super(key: key);

  @override
  Widget build(BuildContext context) {
    return Container(
      child: child,
    );
  }
}
You can use it as
new ClassWidget(
  child: new ClassWidget(),
);
And in this case Widget tree looks like this
ClassWidget
  Container
    ClassWidget
      Container
As we can see here, if we use Widgets, framework understands it in better way and UI becomes easy to inspect.
For more info follow this answer from stackoverflow