Crew Attendance Web and Mobile Application Using NextJS, Python and Flutter ✨

Crew Attendance is web and mobile application used to mark attendance of a class using realtime face recognition
Features and Functionalities ?
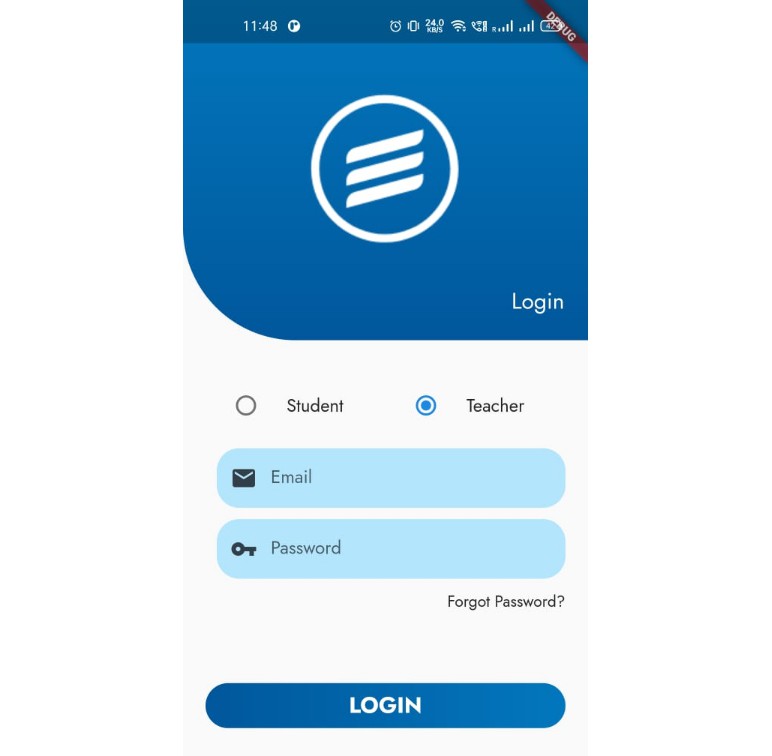
- Teacher and Student Login
- Teacher and Student Register
- Teacher Create Course
- Teacher Delete Course
- Teacher Mark Attendance
- Take class room attendance using face recognition
- Update Attendance
- Student enroll in course
- Student unenroll in course
- Teacher and Student update profile
- MongoDB for database
- NextJS as Frontend
- Flutter for Mobile Application
- Flask python for backend
Screenshots
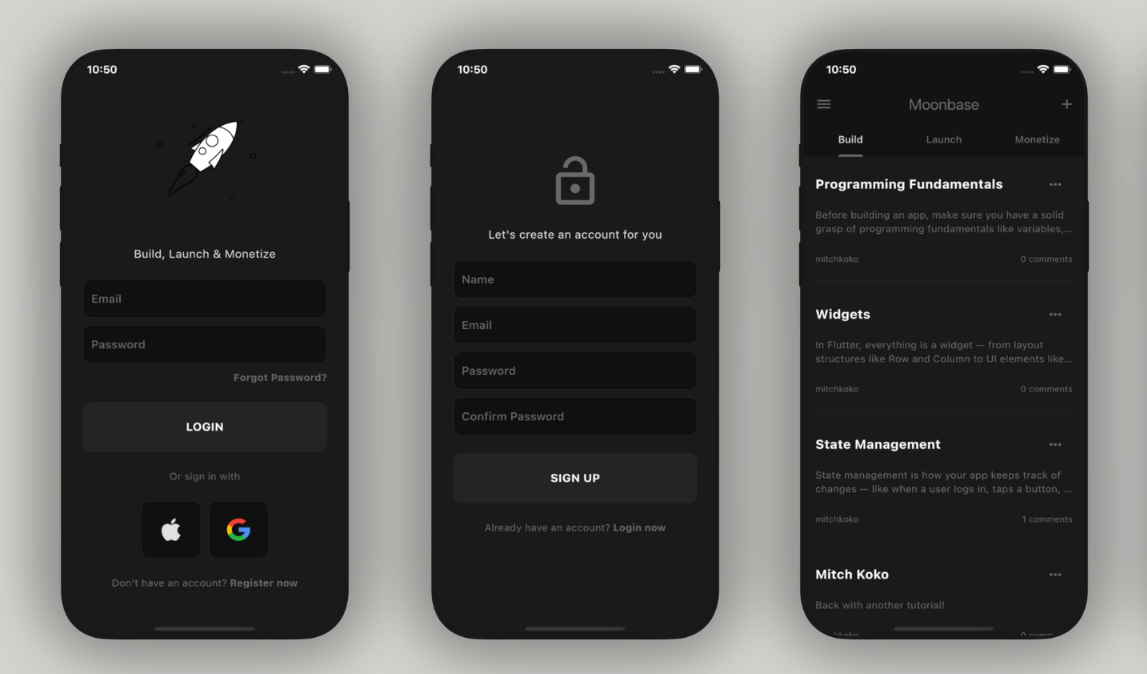
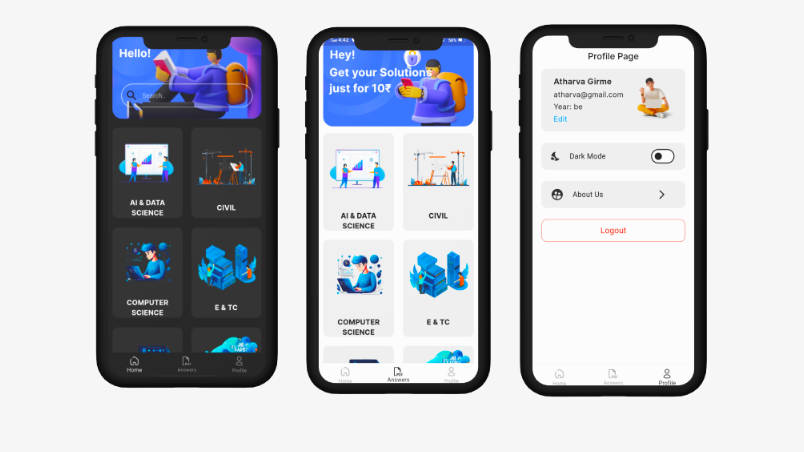
App
Create course
Course Student Detail
Course Mark Attendance
Student enroll in course
Profile
Web Login
Web Course
Tech Stack ?
Installation and Running App:
Running Backend API
1. Clone this repo by running the following command :-
 https://github.com/CrewCodeAnku/crew-attendance-nextjs-python-flutter.git
 cd crew-attendance-nextjs-python-flutter
2. Run the setup this will install all the modules and create project for you :-
 cd backend-python-flask
 ./setup.sh or bash setup.sh
3. Enter all the credentials details inside modules/config/config.cfg :-
 # Config files are not tracked in Git and must be placed manually in each
# app environment (e.g. development, staging, production).

# General
DEBUG = True
TIMEZONE = "US/Eastern"
SECRET_KEY = ""
ENVIRONMENT = "development"
FLASK_DIRECTORY = "Your project directory"
FLASK_DOMAIN = "0.0.0.0"
FLASK_PORT = 4000
FRONTEND_DOMAIN = "http://localhost:3000"
HTTP_HTTPS = "http://"
FRONTEND_URL = "http://localhost:3000"

# Database
MONGO_HOSTNAME = "localhost"
MONGO_PORT = 27017
MONGO_AUTH_DATABASE = ""
MONGO_AUTH_USERNAME = ""
MONGO_AUTH_PASSWORD = ""
MONGO_APP_DATABASE = "crewattendance"

# Sendgrid
SENDGRID_API_KEY = ""

# AWS
S3_KEY = ""
S3_SECRET    = ""
BUCKET_NAME   = ""
S3_LOCATION   = ""
4. Now in order to start backend need to run following command :-
Start your python flask api
python3 run.py
Running Flutter App
1. Go to mobile-app folder :-
2. Change the API url in lib/util/app_url file :-
static const String localBaseURL = "http://192.168.1.4:4000";
3. Start the app :-
flutter run
Running NextJS Web application
1. Go to frontend-nextjs folder :-
2. Run following command to start the project :-
cd frontend-nextjs
npm run dev
? Don’t forget to give this repo a ⭐ if you like this repo and want to appreciate our efforts