Paystack Plugin for Flutter
A robust Flutter plugin for making payments via Paystack Payment Gateway. Completely supports Android and iOS
:rocket: Installation
To use this plugin, add flutter_paystack as a dependency in your pubspec.yaml file.
Then initialize the plugin preferably in the initState of your widget.
import 'package:flutter_paystack/flutter_paystack.dart';

class _PaymentPageState extends State<PaymentPage> {
  var publicKey = '[YOUR_PAYSTACK_PUBLIC_KEY]';

  @override
  void initState() {
    PaystackPlugin.initialize(
            publicKey: publicKey);
  }
}
No other configuration required—the plugin works out of the box.
:heavy_dollar_sign: Making Payments
There are two ways of making payment with the plugin.
- Checkout: This is the easy way; as the plugin handles all the
processes involved in making a payment (except transaction
initialization and verification which should be done from your
backend). - Charge Card: This is a longer approach; you handle all callbacks
and UI states.
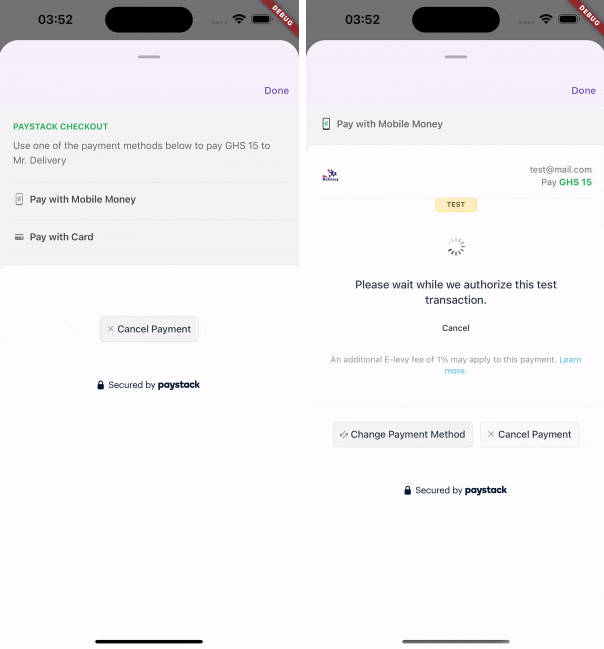
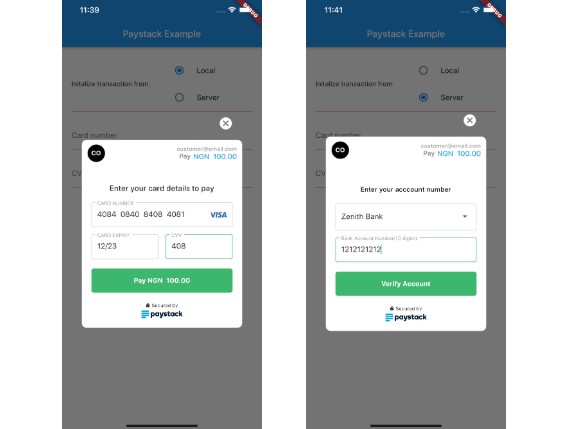
1. :star2: Checkout (Recommended)
You initialize a charge object with an amount, email & accessCode or
reference. Pass an accessCode only when you have
initialized the transaction
from your backend. Otherwise, pass a reference.
Charge charge = Charge()
      ..amount = 10000
      ..reference = _getReference()
       // or ..accessCode = _getAccessCodeFrmInitialization()
      ..email = '[email protected]';
    CheckoutResponse response = await PaystackPlugin.checkout(
      context context,
      method: CheckoutMethod.card, // Defaults to CheckoutMethod.selectable
      charge: charge,
    );
Please, note that an accessCode is required if the method is
CheckoutMethod.bank or CheckoutMethod.selectable.
PaystackPlugin.checkout() returns the state and details of the
payment in an instance of CheckoutResponse .
It is recommended that when PaystackPlugin.checkout() returns, the
payment should be
verified
on your backend.
2. :star: Charge Card
You can choose to initialize the payment locally or via your backend.
A. Initialize Via Your Backend (Recommended)
1.a. This starts by making a HTTP POST request to
paystack
on your backend.
1.b If everything goes well, the initialization request returns a response with an access_code.
You can then create a Charge object with the access code and card details. The charge is in turn passed to the PaystackPlugin.chargeCard() function for payment:
  PaymentCard _getCardFromUI() {
    // Using just the must-required parameters.
    return PaymentCard(
      number: cardNumber,
      cvc: cvv,
      expiryMonth: expiryMonth,
      expiryYear: expiryYear,
    );

    // Using Cascade notation (similar to Java's builder pattern)
//    return PaymentCard(
//        number: cardNumber,
//        cvc: cvv,
//        expiryMonth: expiryMonth,
//        expiryYear: expiryYear)
//      ..name = 'Segun Chukwuma Adamu'
//      ..country = 'Nigeria'
//      ..addressLine1 = 'Ikeja, Lagos'
//      ..addressPostalCode = '100001';

    // Using optional parameters
//    return PaymentCard(
//        number: cardNumber,
//        cvc: cvv,
//        expiryMonth: expiryMonth,
//        expiryYear: expiryYear,
//        name: 'Ismail Adebola Emeka',
//        addressCountry: 'Nigeria',
//        addressLine1: '90, Nnebisi Road, Asaba, Deleta State');
  }

  _chargeCard(String accessCode) {
    var charge = Charge()
      ..accessCode = accessCode
      ..card = _getCardFromUI();

    PaystackPlugin.chargeCard(context,
        charge: charge,
        beforeValidate: (transaction) => handleBeforeValidate(transaction),
        onSuccess: (transaction) => handleOnSuccess(transaction),
        onError: (error, transaction) => handleOnError(error, transaction));
  }

  handleBeforeValidate(Transaction transaction) {
    // This is called only before requesting OTP
    // Save reference so you may send to server if error occurs with OTP
  }

  handleOnError(Object e, Transaction transaction) {
    // If an access code has expired, simply ask your server for a new one
    // and restart the charge instead of displaying error
  }


  handleOnSuccess(Transaction transaction) {
    // This is called only after transaction is successful
  }
2. Initialize Locally
Just send the payment details to PaystackPlugin.chargeCard
      // Set transaction params directly in app (note that these params
      // are only used if an access_code is not set. In debug mode,
      // setting them after setting an access code would throw an error
      Charge charge = Charge();
      charge.card = _getCardFromUI();
      charge
        ..amount = 2000
        ..email = '[email protected]'
        ..reference = _getReference()
        ..putCustomField('Charged From', 'Flutter PLUGIN');
      _chargeCard();
:wrench: :nut_and_bolt: Validating Card Details
You are expected but not required to build the UI for your users to enter their payment details.
For easier validation, wrap the TextFormFields inside a Form widget. Please check this article on
validating forms on Flutter
if this is new to you.
NOTE: You don't have to pass a card object to Charge. The plugin will call-up a UI for the user to input their card.
You can validate the fields with these methods:
card.validNumber
This method helps to perform a check if the card number is valid.
card.validCVC
Method that checks if the card security code is valid.
card.validExpiryDate
Method checks if the expiry date (combination of year and month) is valid.
card.isValid
Method to check if the card is valid. Always do this check, before charging the card.
card.getType
This method returns an estimate of the string representation of the card type(issuer).