flutter_bluetooth_serial_example
Example application demonstrates key features of the flutter_bluetooth_serial plugin:
-
Adapter status monitoring,
-
Turning adapter on and off,
-
Opening settings,
-
Discovering devices (and requesting discoverability),
-
Listing bonded devices and pairing new ones,
-
Connecting to multiple devices at the same time,
-
Sending and recieving data (multiple connections).
The plugin (for now) uses Serial Port profile for moving data over RFCOMM, so make sure there is running Service Discovery Protocol that points to SP/RFCOMM channel of the device.
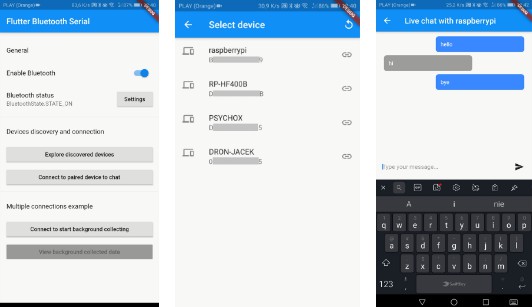
Screens
| Main screen and options | Discovery and connecting | Simple chat with server | Background connection |
|---|---|---|---|
 |
 |
 |
 |
Note: There screen-shots might be out-dated. Build and see the example app for yourself, you won’t regret it. ?
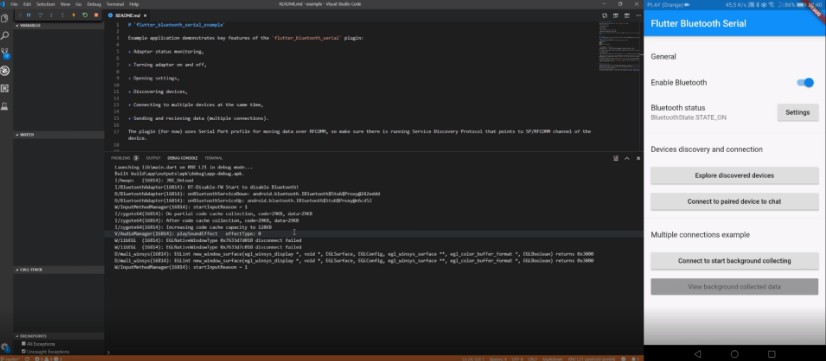
Tests
There is a recording of the tests (click for open video as WEBM version):

General
The basics are simple, so there is no need to write about it so much.
Discovery page
On devices list you can long tap to start pairing process. If device is already paired, you can use long tap to unbond it.
Chat example
There is implemented simple chat. Client (the Flutter host) connects to selected from bonded devices server in order to exchange data – asynchronously.
Simple (console) server on Raspberry Pi:
- Enable Bluetooth and pair Raspberry with the Flutter host device (only first time)
$ sudo bluetoothctl
# power on
# agent on
# scan on
# pair [MAC of the Flutter host]
# quit
- Add SP/RFCOMM entry to the SDP service
$ sudo sdptool add SP         # There can be channel specified one of 79 channels by adding `--channel N`.
$ sudo sdptool browse local   # Check on which channel RFCOMM will be operating, to select in next step.
SDP tool tends to use good (and free) channels, so you don’t have to keep track of other services if you let it decide.
- Start RFCOMM listening
$ sudo killall rfcomm
$ sudo rfcomm listen /dev/rfcomm0 N picocom -c /dev/rfcomm0 --omap crcrlf   # `N` should be channel number on which SDP is pointing the SP.
- Now you can connect and chat to the server with example application using the console. Every character is send to your device and buffered. Only full messages, between new line characters (
\n) are displayed. You can useCtrl+AandCtrl+Qto exit frompicocomutility if you want to end stream from server side (andCtrl+Cfor exit watch-mode ofrfcommutility).
If you experiencing problems with your terminal (some term_exitfunc of picocom errors), you should try saving good terminal settings (stty --save > someFile) and loading them after picocom exits (adding ; stty `cat someFile` to the second command of 3. should do the thing).
You can also use the descriptor (/dev/rfcomm0) in other way, not necessarily to run interactive terminal on it, in order to chat. It can be used in various ways, providing more automation and/or abstraction.
Background monitor example
For testing multiple connections there were created background data collector, which connects to Arduino controller equiped with HC-05 Bluetooth interface, 2 DS18B20 termometers and water pH level meter. There are very nice graphs to displaying the recieved data.
The example uses Celsius degree, which was chosen because it utilizes standard conditions of water freezing and ice melting points instead of just rolling a dice over periodic table of elements like a Fahrenheit do…
Project of the Arduino side could be found in /arduino folder, but there is a note: the code is prepared for testing in certain environment and will not work without its hardware side (termometers, pH meter). If you can alter the real termometer code for example for random data generator or your own inputs.