flutter-openMessaging
This is designed as an example only for using a Flutter Mobile App as the client for the firebase BaaS in openMessaging for Genesys Cloud OpenMessaging. This repo is the client side of the Middleware and there is another repo I have created that is the server side written as a Firebase/JavaScript project. This example requires you to have experience with firebase & Flutter. Before starting this project I recommend doing the server side of the middleware that can be found here
1. Flutter & Firebase setup
First of all ensure you have Flutter installed and setup as well as android studio for the emulator. This example will not go through these steps, details of this can be found at the Flutter website. You will also be using the Firebase project setup that was done in the last project with the server side elements.
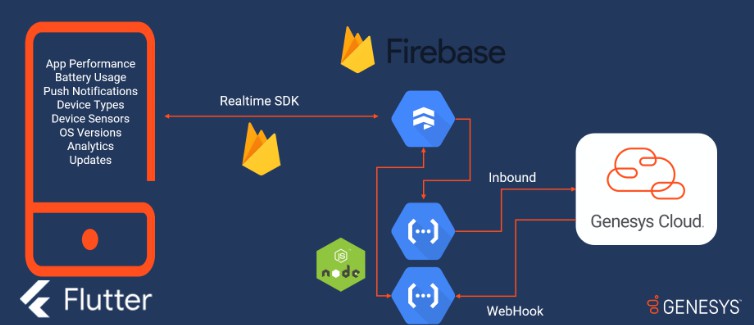
The Over view design on this is below and this is focused on the mobile app side of the design.

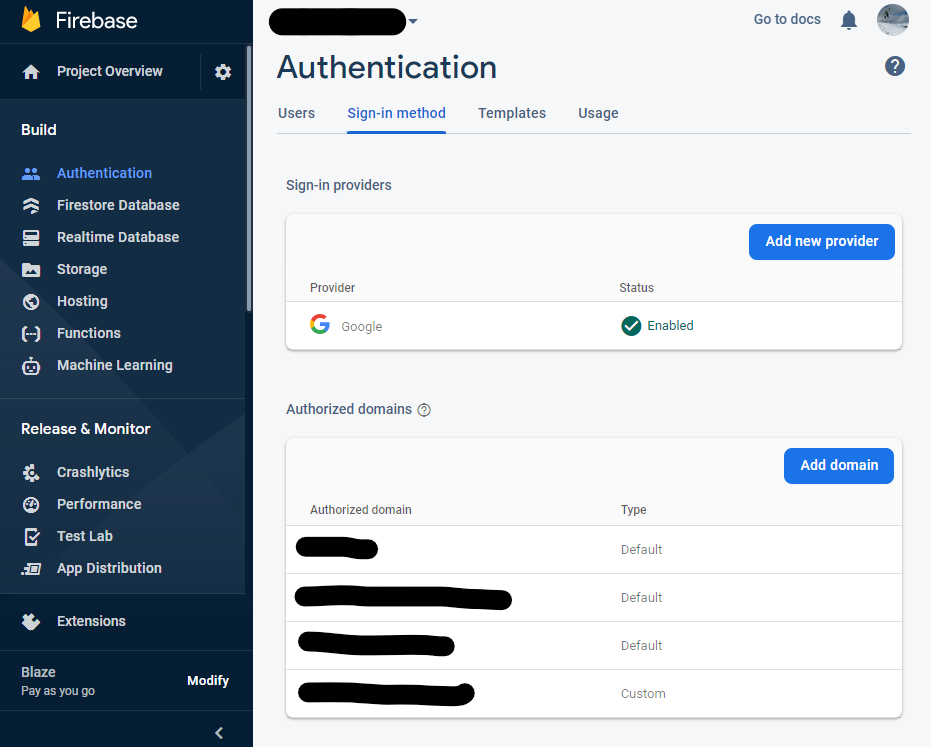
2. Firebase Authentication
Ensure that in the Firebase you have Google setup as the “provider” for authentication as that is what this Flutter example application is using. You can use a different provider but in that case you will need to update the Dart code to reflect this change.
3. Firebase Firestore
In the Firebase firestore create a “collection” called
users
The other “documents” you can see below get automaticlly created as users authenticate with the App as well as start to send messages. Using the Firestore enables you to control the history cache that loads to allow for much more threading time then the max 72hours as well as from a data loading and offline viewing it has been designed by firebase to scale as well as allowing for multiply clients to “subscribe” to changes without needing to use websockets. This is all handeled by the firebase SDK and saves a LOT of pain in building this at scale.

In the “Rules” for the database ensure you set the below options to ensure that it is secured. The below will only allow someone who has a valid token and only access to the users messages based on their UUID.
rules_version = '2';
service cloud.firestore {
match /databases/{database}/documents {
    match /users/{userId}/messages/{document=**} {
    allow read, write: if
        request.auth != null && request.auth.uid == userId
    }
    match /users/{userId}/profile/{document=**} {
        allow read, write: if
            request.auth != null && request.auth.uid == userId
    }
}
}
4. Firebase Storage
If you want to allow images to be sent by the Mobile App you will need to allow a storage location for the attachments. For this I’m using the Girestore Storage which is a GCP Bucket under the hood. When you create a folder ensure its called
uploads/
on the root dir. This is what the App will look for in the design. For the “Rules” ensure that you have the below configured.
rules_version = '2';
service firebase.storage {
match /b/{bucket}/o {
    match /{allPaths=**} {
    allow read, write: if request.auth != null;
    }
}
}
5. Firebase Functions
You should notice that there are already 2x Clound Functions in your Firebase project (as long as you went through the server side project first).
As these are deployed in the same project they are seen as a trusted server side function so the Auth is taken care of for you in GCP/Firebase.

6. Firebase Cloud Messaging
Make sure that you have enabled and configured firebase cloud messaging to get the push notifications even when the app is closed. For this the API (V1) is used.
7. Project Settings
Create an “Android” App in the project settings for this you will need to generate a SHA key both 256 and 1 there are details on how to do this here. In my example I also created an HTML one to also run this App in Web but you only need to do it for the platfrom your planning to use. Once you have done this you will need to download the json file. The “Package name” is set to “com.example.open_messaging” as this is what it is set to in the Flutter application.
google-services.json

Now that you have the json file with connection detials for your environment you will need to paste this into the directory
/open_messaging/app/

8. Flutter App
Now you can run a build on the Android APK and run the App.
Login Screen:

Account Selection:

Usage:


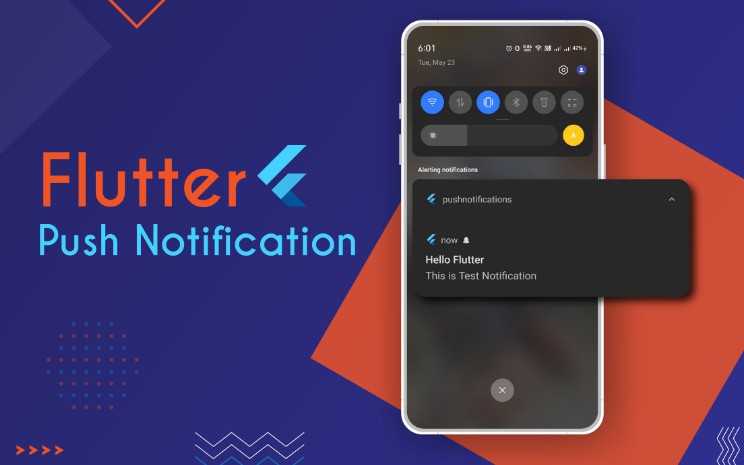
Notifications:
You can recieve notifications even when the app is fully closed.


9. Agent Restart
I have not included this code but you can have a Cloud Function that will operate as the “Agentless Message” API to allow you to build out a simple Agent based UI to allow the agent to “restart” the conversation once its disconnected rather then waiting for the customer to reply with the Mobile App.

This is an easy extension of the above example and if there is a requirement I may add that example code into another repo in the future.