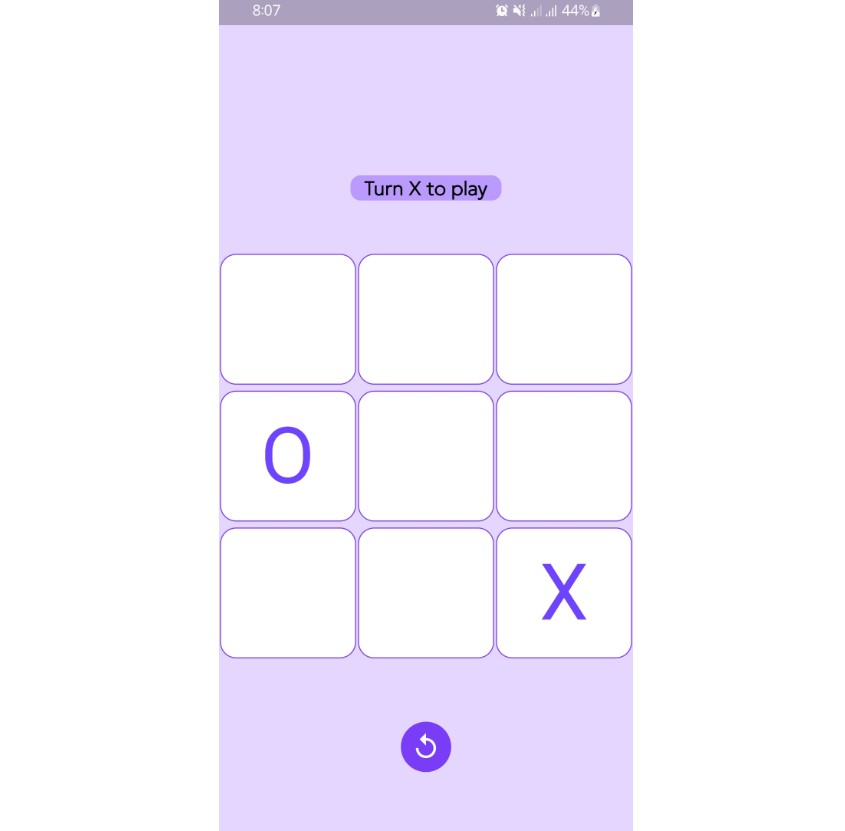
Time Tracking app with Flutter & Firebase
A time tracking application built with Flutter & Firebase:
![]()
This is intended as a reference app based on my Riverpod Architecture.
Note: this project used to be called “Started Architecture for Flutter & Firebase” (based on this old article). As of January 2023, it follows my updated Riverpod Architecture, using the latest packages.
Flutter web preview
A Flutter web preview of the app is available here:
Features
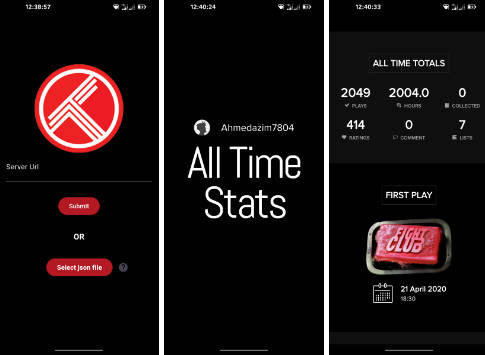
- Simple onboarding page
- Full authentication flow (using email & password)
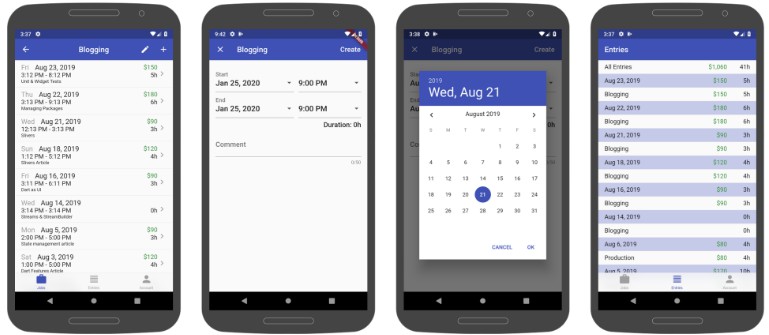
- Jobs: users can view, create, edit, and delete their own private jobs (each job has a name and hourly rate)
- Entries: for each job, user can view, create, edit, and delete the corresponding entries (an entry is a task with a start and end time, with an optional comment)
- A report page that shows a daily breakdown of all jobs, hours worked and pay, along with the totals.
All the data is persisted with Firestore and is kept in sync across multiple devices.
Roadmap
- Add missing tests
- Stateful Nested Navigation (available since GoRouter 7.1)
- Use controllers / notifiers consistently across the app (some code still needs to be updated)
- Add localization
- Use the new Firebase UI packages where useful
- Responsive UI
This is a tentative roadmap. There is no ETA for any of the points above. This is a low priority project and I don’t have much time to maintain it.
Relevant Articles
The app is based on my Flutter Riverpod architecture, which is explained in detail here:
- Flutter App Architecture with Riverpod: An Introduction
- Flutter Project Structure: Feature-first or Layer-first?
- Flutter App Architecture: The Repository Pattern
More more info on Riverpod, read this:
Packages in use
These are the main packages used in the app:
- Flutter Riverpod for data caching, dependency injection, and more
- Riverpod Generator and Riverpod Lint for the latest Riverpod APIs
- GoRouter for navigation
- Firebase Auth and Firebase UI Auth for authentication
- Cloud Firestore as a realtime database
- Firebase UI for Firestore for the
FirestoreListViewwidget with pagination support - RxDart for combining multiple Firestore collections as needed
- Intl for currency, date, time formatting
- Mocktail for testing
- Equatable to reduce boilerplate code in model classes
See the pubspec.yaml file for the complete list.
Running the project with Firebase
To use this project with Firebase, follow these steps:
- Create a new project with the Firebase console
- Enable Firebase Authentication, along with the Email/Password Authentication Sign-in provider in the Firebase Console (Authentication > Sign-in method > Email/Password > Edit > Enable > Save)
- Enable Cloud Firestore
Then, follow one of the two approaches below. ?
1. Using the CLI
Make sure you have the Firebase CLI and FlutterFire CLI installed.
Then run this on the terminal from the root of this project:
- Run
firebase loginso you have access to the Firebase project you have created - Run
flutterfire configureand follow all the steps
For more info, follow this guide:
2. Manual way (not recommended)
If you don’t want to use FlutterFire CLI, follow these steps instead:
- Register separate iOS, Android, and web apps in the Firebase project settings.
- On Android, use
com.example.starter_architecture_flutter_firebaseas the package name. - then, download and copy
google-services.jsonintoandroid/app. - On iOS, use
com.example.starterArchitectureFlutterFirebaseas the bundle ID. - then, download and copy
GoogleService-Info.plistintoiOS/Runner, and add it to the Runner target in Xcode.
That’s it. Have fun!