flutter_textfield_search
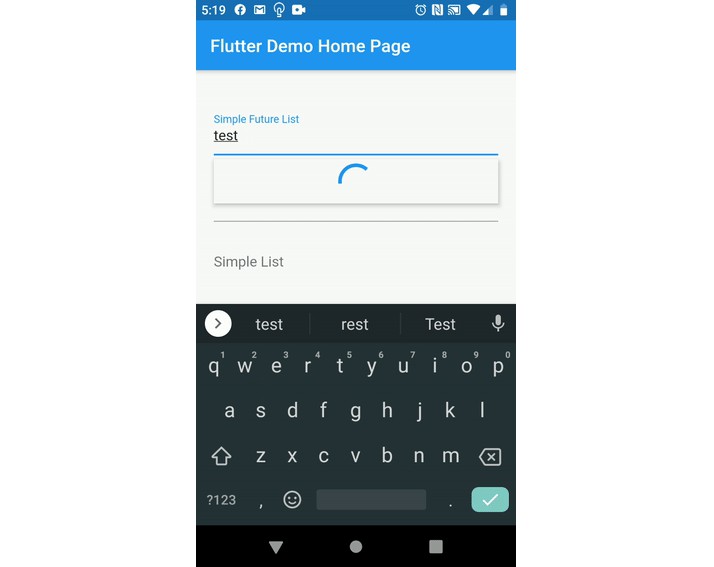
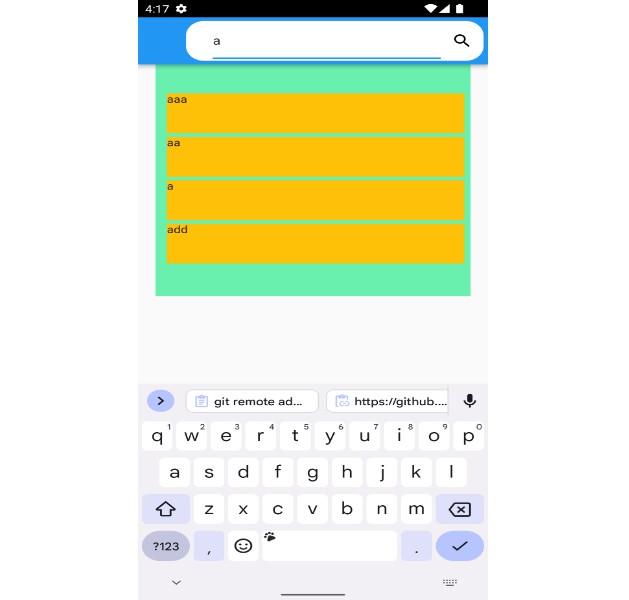
FTFS is a Flutter package which uses a TextField Widget to search and select a value from a list. It’s a simple, lightweight, and fully tested package unlike other “autocomplete” or textfield search packages. View complete code coverage results in JSON format here.
Usage
To use this package, add flutter_textfield_search as a dependency in your pubsec.yaml file.
Example
Import the package.
`import 'package:flutter_textfield_search/search.dart'`;
Then include the widget anywhere you would normally use a TextField widget with a String for label, a List for initialList, and a TextEditingController for controller.
Example MaterialApp using TextFieldSearch Widget
    const label = "Some Label";
    const dummyList = ['Item 1', 'Item 2', 'Item 3', 'Item 4', 'Item 5'];
    TextEditingController myController = TextEditingController();
    MaterialApp(
      home: Scaffold(
      body: TextFieldSearch(initialList: dummyList, label: label, controller: myController)
      ),
    )
To get the value of the selected option, use addListener on the controller to listen for changes:
    @override
    void dispose() {
      // Clean up the controller when the widget is removed from the
      // widget tree.
      myController.dispose();
      super.dispose();
    }

    @override
    void initState() {
      super.initState();
      // Start listening to changes.
      myController.addListener(_printLatestValue);
    }

    _printLatestValue() {
      print("Textfield value: ${myController.text}");
    }
Selecting a List item from a Future List:
    TextEditingController myController = TextEditingController();

    // create a Future that returns List
    Future<List> fetchData() async {
      await Future.delayed(Duration(milliseconds: 5000));
      List _list = new List();
      String _inputText = myController.text;
      // create a list from the text input of three items
      // to mock a list of items from an http call
      _list.add(_inputText + ' Item 1');
      _list.add(_inputText + ' Item 2');
      _list.add(_inputText + ' Item 3');
      return _list;
    }

    @override
    void dispose() {
      // Clean up the controller when the widget is removed from the
      // widget tree.
      myController.dispose();
      super.dispose();
    }

    // used within a MaterialApp (code shortened)
    MaterialApp(
      home: Scaffold(
      body: TextFieldSearch(
          label: 'My Label',
          controller: myController
          future: () {
            return fetchData();
          }
        )
      ),
    )
Selecting an object from a Future List:
    TextEditingController myController = TextEditingController();

    // create a Future that returns List
    // IMPORTANT: The list that gets returned from fetchData must have objects that have a label property.
    // The label property is what is used to populate the TextField while getSelectedValue returns the actual object selected
    Future<List> fetchData() async {
      await Future.delayed(Duration(milliseconds: 3000));
      List _list = new List();
      String _inputText = myController.text;
      List _jsonList = [
        {
          'label': _inputText + ' Item 1',
          'value': 30
        },
        {
          'label': _inputText + ' Item 2',
          'value': 31
        },
        {
          'label': _inputText + ' Item 3',
          'value': 32
        },
      ];
      // create a list of 3 objects from a fake json response
      _list.add(new TestItem.fromJson(_jsonList[0]));
      _list.add(new TestItem.fromJson(_jsonList[1]));
      _list.add(new TestItem.fromJson(_jsonList[2]));
      return _list;
    }

    @override
    void dispose() {
      // Clean up the controller when the widget is removed from the
      // widget tree.
      myController.dispose();
      super.dispose();
    }

    // used within a MaterialApp (code shortened)
    MaterialApp(
      home: Scaffold(
      body: TextFieldSearch(
          label: 'My Label',
          controller: myController
          future: () {
            return fetchData();
          },
          getSelectedValue: (value) {
            print(value); // this prints the selected option which could be an object
          }
        )
      ),
    )

    // Mock Test Item Class
    class TestItem {
      String label;
      dynamic value;
      TestItem({
        this.label,
        this.value
      });

      factory TestItem.fromJson(Map<String, dynamic> json) {
        return TestItem(
          label: json['label'],
          value: json['value']
        );
      }
    }
Issues
Please email any issues, bugs, or additional features you would like to see built to [email protected].
Contributing
If you wish to contribute to this package you may fork the repository and make a pull request to this repository.
Note: Testing by running flutter test --coverage will generate coverage/lcov.info. Running bash test-coverage.sh will parse the lcov.info file into JSON format. This happens automatically within the CI/CD pipeline on a pull request to master but it is always good to test locally.
