Boilerplate Project
A boilerplate project created in flutter using MobX and Provider. Boilerplate supports both web and mobile, clone the appropriate branches mentioned below:
- For Mobile: https://github.com/zubairehman/flutter-boilerplate-project/tree/master (stable channel)
- For Web: https://github.com/zubairehman/flutter-boilerplate-project/tree/feature/web-support (beta channel)
Getting Started
The Boilerplate contains the minimal implementation required to create a new library or project. The repository code is preloaded with some basic components like basic app architecture, app theme, constants and required dependencies to create a new project. By using boiler plate code as standard initializer, we can have same patterns in all the projects that will inherit it. This will also help in reducing setup & development time by allowing you to use same code pattern and avoid re-writing from scratch.
How to Use
Step 1:
Download or clone this repo by using the link below:
https://github.com/zubairehman/flutter-boilerplate-project.git
Step 2:
Go to project root and execute the following command in console to get the required dependencies:
flutter pub get
Step 3:
This project uses inject library that works with code generation, execute the following command to generate files:
flutter packages pub run build_runner build --delete-conflicting-outputs
or watch command in order to keep the source code synced automatically:
flutter packages pub run build_runner watch
Hide Generated Files
In-order to hide generated files, navigate to Android Studio -> Preferences -> Editor -> File Types and paste the below lines under ignore files and folders section:
*.inject.summary;*.inject.dart;*.g.dart;
In Visual Studio Code, navigate to Preferences -> Settings and search for Files:Exclude. Add the following patterns:
**/*.inject.summary
**/*.inject.dart
**/*.g.dart
Boilerplate Features:
- Splash
- Login
- Home
- Routing
- Theme
- Dio
- Database
- MobX (to connect the reactive data of your application with the UI)
- Provider (State Management)
- Encryption
- Validation
- Code Generation
- User Notifications
- Logging
- Dependency Injection
- Dark Theme Support (new)
- Multilingual Support (new)
- Provider example (new)
Up-Coming Features:
- Connectivity Support
- Background Fetch Support
Libraries & Tools Used
- Dio
- Database
- MobX (to connect the reactive data of your application with the UI)
- Provider (State Management)
- Encryption
- Validation
- Logging
- Notifications
- Json Serialization
- Dependency Injection
Folder Structure
Here is the core folder structure which flutter provides.
flutter-app/
|- android
|- build
|- ios
|- lib
|- test
Here is the folder structure we have been using in this project
lib/
|- constants/
|- data/
|- stores/
|- ui/
|- utils/
|- widgets/
|- main.dart
|- routes.dart
Now, lets dive into the lib folder which has the main code for the application.
1- constants - All the application level constants are defined in this directory with-in their respective files. This directory contains the constants for `theme`, `dimentions`, `api endpoints`, `preferences` and `strings`.
2- data - Contains the data layer of your project, includes directories for local, network and shared pref/cache.
3- stores - Contains store(s) for state-management of your application, to connect the reactive data of your application with the UI.
4- ui — Contains all the ui of your project, contains sub directory for each screen.
5- util — Contains the utilities/common functions of your application.
6- widgets — Contains the common widgets for your applications. For example, Button, TextField etc.
7- routes.dart — This file contains all the routes for your application.
8- main.dart - This is the starting point of the application. All the application level configurations are defined in this file i.e, theme, routes, title, orientation etc.
Constants
This directory contains all the application level constants. A separate file is created for each type as shown in example below:
constants/
|- app_theme.dart
|- dimens.dart
|- endpoints.dart
|- preferences.dart
|- strings.dart
Data
All the business logic of your application will go into this directory, it represents the data layer of your application. It is sub-divided into three directories local, network and sharedperf, each containing the domain specific logic. Since each layer exists independently, that makes it easier to unit test. The communication between UI and data layer is handled by using central repository.
data/
|- local/
    |- constants/
    |- datasources/
    |- app_database.dart

|- network/
    |- constants/
    |- exceptions/
    |- rest_client.dart

|- sharedpref
    |- constants/
    |- shared_preference_helper.dart

|- repository.dart
Stores
The store is where all your application state lives in flutter. The Store is basically a widget that stands at the top of the widget tree and passes it’s data down using special methods. In-case of multiple stores, a separate folder for each store is created as shown in the example below:
stores/
|- login/
    |- login_store.dart
    |- form_validator.dart
UI
This directory contains all the ui of your application. Each screen is located in a separate folder making it easy to combine group of files related to that particular screen. All the screen specific widgets will be placed in widgets directory as shown in the example below:
ui/
|- login
   |- login_screen.dart
   |- widgets
      |- login_form.dart
      |- login_button.dart
Utils
Contains the common file(s) and utilities used in a project. The folder structure is as follows:
utils/
|- encryption
   |- xxtea.dart
|- date
  |- date_time.dart
Widgets
Contains the common widgets that are shared across multiple screens. For example, Button, TextField etc.
widgets/
|- app_icon_widget.dart
|- empty_app_bar.dart
|- progress_indicator.dart
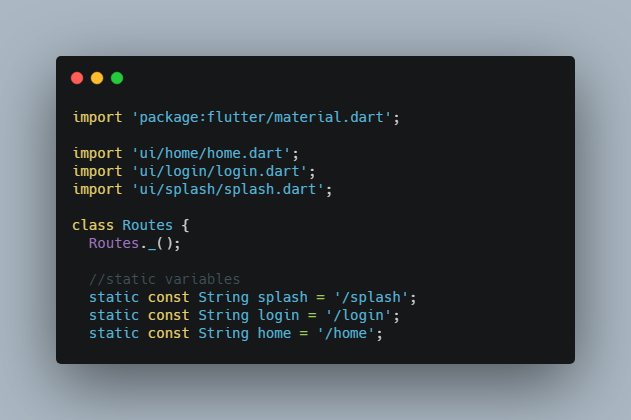
Routes
This file contains all the routes for your application.
import 'package:flutter/material.dart';

import 'ui/home/home.dart';
import 'ui/login/login.dart';
import 'ui/splash/splash.dart';

class Routes {
  Routes._();

  //static variables
  static const String splash = '/splash';
  static const String login = '/login';
  static const String home = '/home';

  static final routes = <String, WidgetBuilder>{
    splash: (BuildContext context) => SplashScreen(),
    login: (BuildContext context) => LoginScreen(),
    home: (BuildContext context) => HomeScreen(),
  };
}
Main
This is the starting point of the application. All the application level configurations are defined in this file i.e, theme, routes, title, orientation etc.
import 'package:boilerplate/routes.dart';
import 'package:flutter/material.dart';
import 'package:flutter/services.dart';

import 'constants/app_theme.dart';
import 'constants/strings.dart';
import 'ui/splash/splash.dart';

void main() {
  SystemChrome.setPreferredOrientations([
    DeviceOrientation.portraitUp,
    DeviceOrientation.portraitDown,
    DeviceOrientation.landscapeRight,
    DeviceOrientation.landscapeLeft,
  ]).then((_) {
    runApp(MyApp());
  });
}

class MyApp extends StatelessWidget {
  // This widget is the root of your application.
  @override
  Widget build(BuildContext context) {
    return MaterialApp(
      debugShowCheckedModeBanner: false,
      title: Strings.appName,
      theme: themeData,
      routes: Routes.routes,
      home: SplashScreen(),
    );
  }
}
Wiki
Checkout wiki for more info
Conclusion
I will be happy to answer any questions that you may have on this approach, and if you want to lend a hand with the boilerplate then please feel free to submit an issue and/or pull request ?
Again to note, this is example can appear as over-architectured for what it is – but it is an example only. If you liked my work, don’t forget to ⭐ star the repo to show your support.